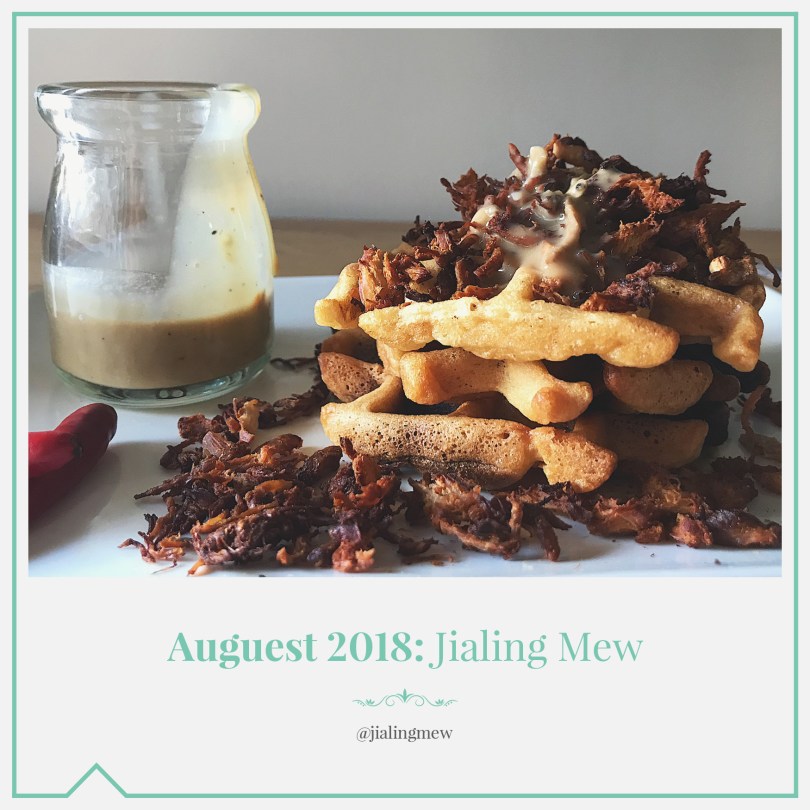
“Waste not, want not.” — Jialing Mew

Let me just preface this year’s recipe by saying that my goal was not to recreate an authentic or traditional Vietnamese dish. Despite having grown up in South East Asia, Vietnamese cuisine was not really something I’d experienced much of until I moved to Sydney (slightly ironic, yes, but Australia is truly a melting pot of cuisines and cultures!). And so, not wanting to butcher any of the already perfect Vietnamese favourites I’ve come to love in my twenties, I decided to instead draw inspiration from some Vietnamese-Australian fusion I’d eaten in Melbourne during one of the brief intermissions between lockdowns.
As with every other Auguest, it was definitely a… journey… for me to get to this recipe. The original game plan was to take advantage of popular local seafood, such as barramundi. But fate had other plans. Due to a highly traumatising incident while pet-sitting for tropical fish (who I now see as the vicious, carnivorous killers they truly are!), my stomach forced me to swear off all forms of fish flesh for the foreseeable future.
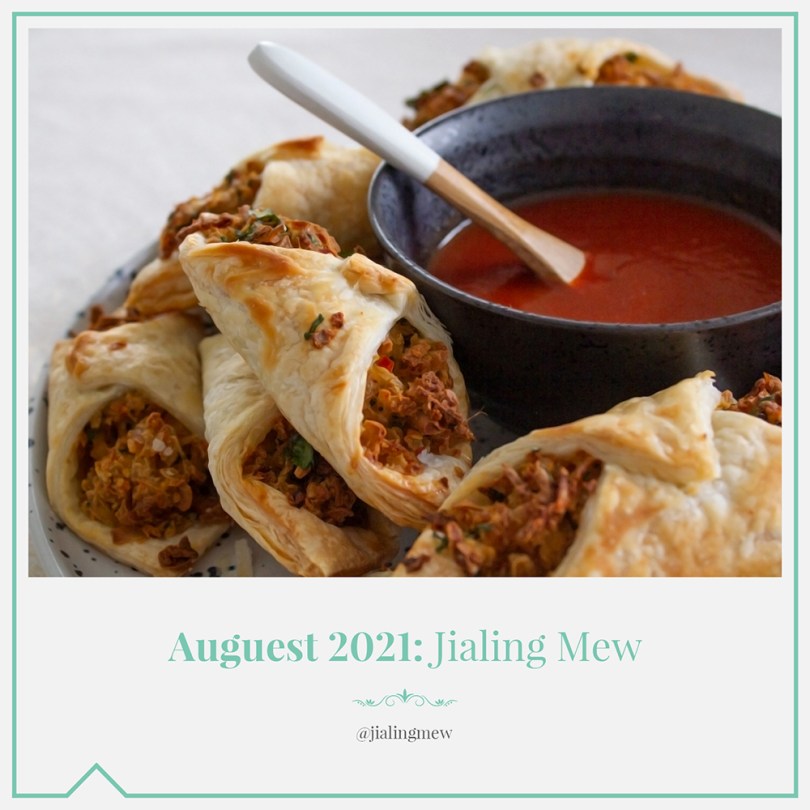
Also, having been under pretty strict lockdown for almost as long as I can remember, I’ve had fairly limited access to specialty Asian ingredients. Many servings of banh mi and bowls of bun cha later (you know, for research, and supporting local businesses), I came up with another idea – sausage rolls! Such an iconic Australian food, yet every bakery and home cook has their own special recipe. I dreamt up a great chicken sausage roll recipe packed with aromatics and fresh ingredients reminiscent of my experience with Vietnamese-Australian cuisine.
The recipe was right up my alley, and came together with hardly a hiccup. But then last week my brain decided to remind me that Allison’s blog is now actually kind of pescatarian/vegetarian/vegan – which chicken is not.
And so I resorted to the last-minute brain scramble I thought I’d gotten past, frantically modifying the recipe I’d perfected at the beginning of the month. So much for preparedness, but it kind of worked out in the end, and to be honest I’m not mad at the vegetarian version (#sorrynotsorry to all the vegans, though).
My recipe is still chicken-based, but I’ve also included some modifications to make a pretty tasty tofu filling, so feel free to choose your own adventure with this recipe!
Unless it’s vegan.

PREP TIME 20 MINS | COOKING TIME 1 HOUR | MAKES 15 ROLLS
INGREDIENTS
- 3 sheets puff pastry
- 1 egg, beaten
For the filling
- 500g firm tofu (or 500g chicken mince)
- 1 cup (65g) fried scallions
- 1 stalk fresh lemongrass, ends and outer leaves discarded, pale inner bulb finely minced
- 4 cloves of garlic, minced
- 1 tbsp fresh ginger, minced
- Small bunch of fresh coriander, about 1/4 cup finely chopped
- 2 red bird’s eye chills, minced
- 2-3 eggs (1 egg if using chicken)
- 1 tbsp lime juice
3 tsp fish sauce (or soy sauce)
For the dipping sauce
- 1/2 cup ketchup
- 2 tbsp sriracha
METHOD
- Press a 500g block of firm tofu between several layers of paper towels with a flat heavy object on top to remove excess water. Let it sit for about an hour, then use your hands, a large grater, or knife and cutting board to turn the tofu into small crumbled pieces.
- Separate 3 sheets of prepared puff pastry, and set aside to thaw. Line two baking sheets with baking paper. Preheat oven to 180C (170C fan forced, 350F, or gas mark 4).
- In a blender, pulse the fried scallions until finely crushed – this will be a super flavourful replacement for the breadcrumbs traditionally used in sausage rolls for keeping the filling from shrinking.
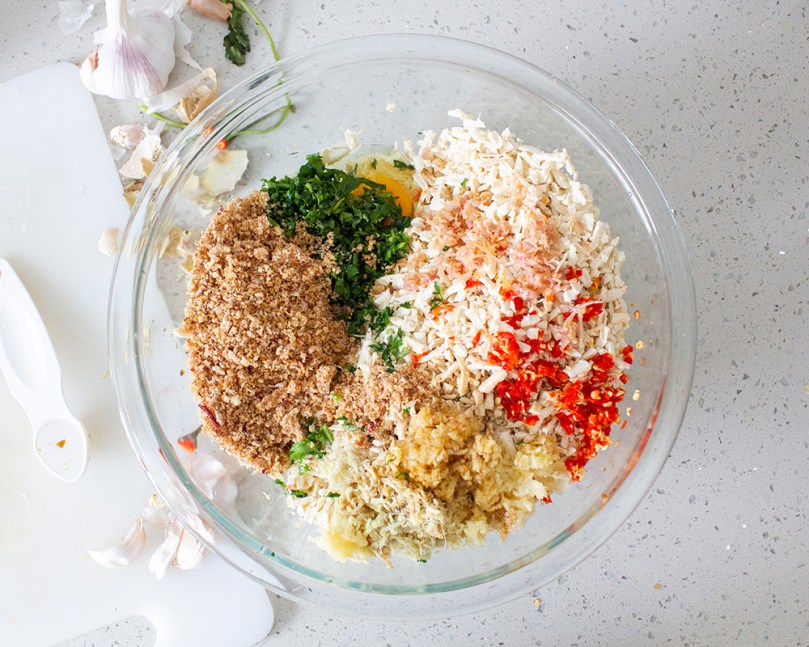
- In a large bowl, combine the tofu with the fried scallion crumbs and remaining filling ingredients. Mix well. Add up to 3 eggs until mixture binds and holds.
- Working with one sheet at a time, use a sharp knife to carefully cut puff pastry into thirds from top to bottom, then left to right, creating 9 even squares. Each of these squares you’ve cut will be used to individually wrap the tofu rolls.
- Take approximately 2 tablespoons of the mixture and shape into a log, placing diagonally across each small square of pastry. Brush the entire surface of the mixture and pastry with the beaten egg. To seal the roll, take the exposed top corner and fold across the top of the mince mixture. Take the opposite bottom corner and gently fold and press on top of the first pastry corner. Repeat with remaining filling and puff pastry sheets and arrange folded pastry rolls onto lined baking sheets.
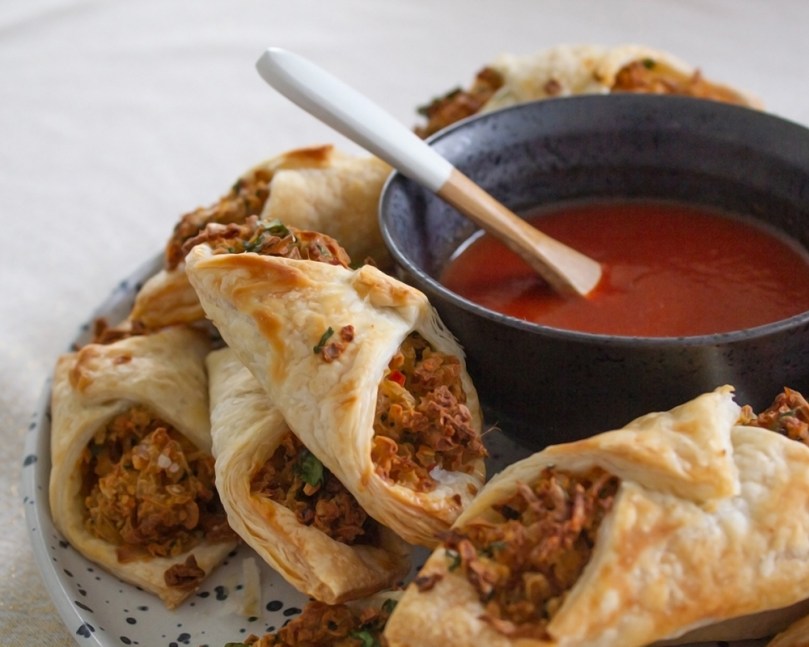
- Brush the tops of the pastry with the remaining egg and place into the oven, baking one sheet at a time for 30 minutes, or until the tops of the pastry are golden brown.
- Combine the ketchup with sriracha and mix well to create dipping sauce, and serve with the pastry rolls. Enjoy!

Photo Courtesy & Recipe Copyright © 2021 | Jialing Mew (@jialingmew)
BON APPÉTIT
– Jialing Mew