Ferrero Rocher & Nutella Cake with Hazelnuts

Ferrero Rocher & Nutella Cake with Hazelnuts

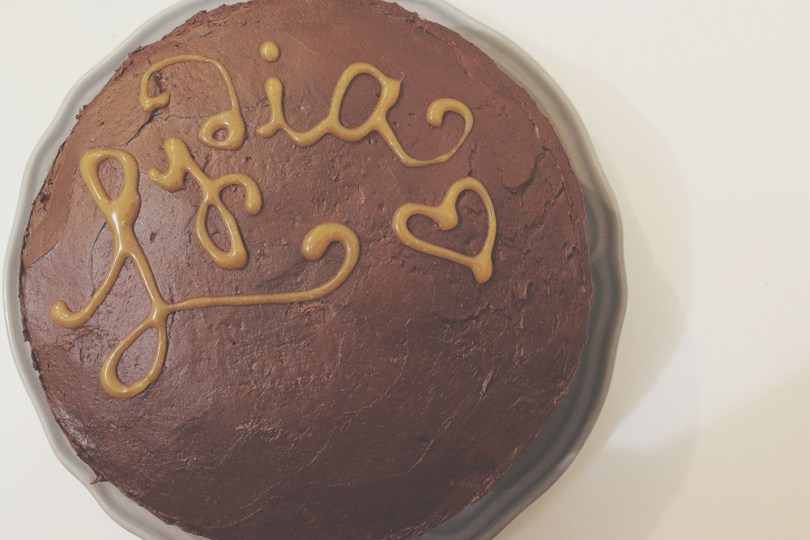
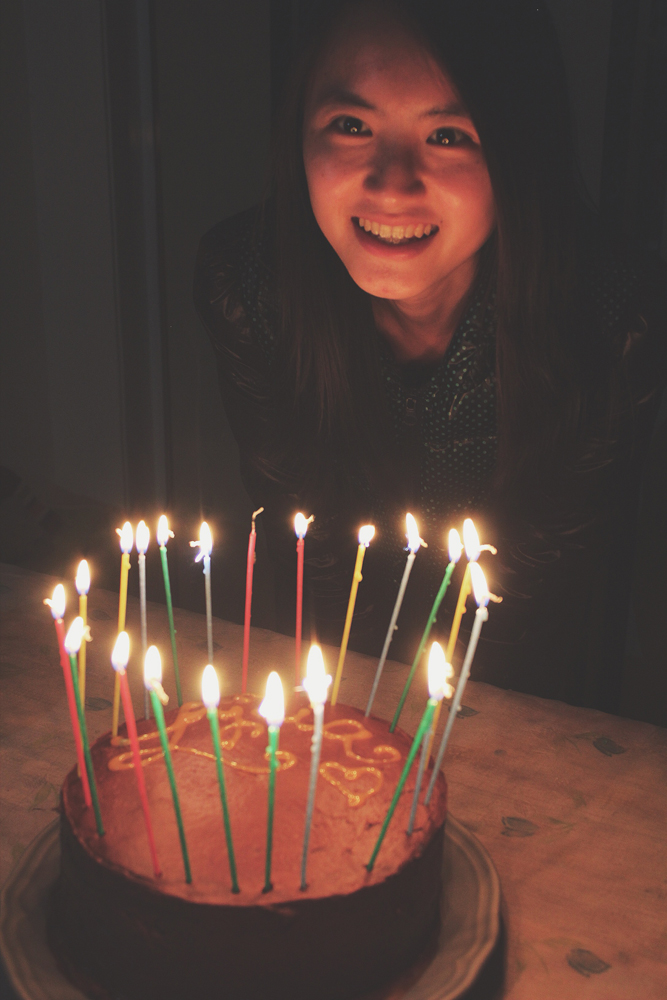
Hello Everyone! I would like to dedicate today’s post to my partner in crime, my matchy-matchy twin, and all round foodie & gym/boxing buddy, Maria the Mew (also known as Jialing), the happiest of birthdays! Happy Birthday my love, and I hope you had a most fantabulous day today! Hope you also liked my essay-like birthday card and present that I got for you 🙂

Though it wasn’t a particularly sunny day, we celebrated an early birthday on Saturday afternoon at Coogee Beach with lots of cake, dessert, drinks, and food. Oh and BARBECUE! Then ending the night at Beach Burrito Company with some margaritas and tequila. We also celebrated her birthday today by having dinner at Pizza e Birra on Crown Street at Surry Hills and having left over cake and flan for dessert.

Ferrero Rocher & Nutella Cake with Hazelnuts

So today’s recipe can originally be found on Better Baking Bible, and was actually baked by Jialing while I assisted in preparing the decorations for her cake. I also helped crush the hazelnuts and slap them on to the sides of the cake. On Friday night after work for the both of us, Jialing came over to my place to bake her cake while I made flan for her birthday celebration the next day. We actually started making stuff at around 7pm and seriously did not finish making her cake until about 1am. We honestly had no idea where all the time went – we didn’t even get to bake her quiche as planned originally. Well, we did have an hour and a half or so of a dinner break in between. I mean honestly, this is how I’ve spent two Friday nights in a row – baking until 1am (my birthday cake last week).

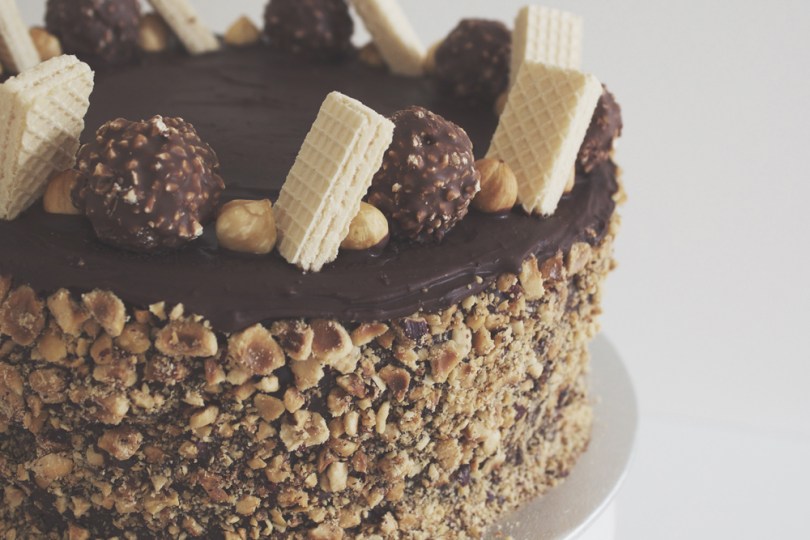
I also think time went into having to make another batch of cake batter and waiting for that to cool down as well. The original recipe actually says to split the cake into 2 even layers, however when we took the cakes out of the oven, they looked like an okay size for a single layer and would appear to be too skinny if we had sliced them in half. So Jialing decided to make another batch of batter for just one more layer to make a three layer cake (two is never enough, and honestly probably wouldn’t look as epic). I have adjusted the quantities from the original recipe specifically to Jialing’s cake, as well as adding extra ingredients such as hazelnuts into half of the frosting mixture.

Ferrero Rocher & Nutella Cake with Hazelnuts

PREP TIME 20 MINS | COOKING TIME 25-30 MINS | SERVES 8-10

INGREDIENTS

For the cake

  • 10 large free range eggs
  • 3 cups hazelnut meal
  • 3/4 cup granulated sugar
  • 4 tbsp cocoa powder
  • 4 tbsp plain flour
  • 4 tsp baking powder

For the frosting

  • 300g unsalted butter, softened
  • 2 & 1/4 cups dark chocolate, roughly chopped (or chocolate chips)
  • 1 & 1/2 cup wafer biscuits, crushed
  • 1/2 cup Nutella
  • 1/4 cup roasted hazelnuts, roughly chopped
  • 1 & 1/2 tsp vanilla extract

For decorating

  • 8 Ferrero Rocher Chocolates
  • 3/4 cups roasted hazelnuts, roughly chopped (some whole)
  • 1 packet (125g) vanilla wafers, crushed (reserve some whole)

METHOD

  1. Preheat oven to 180C. Butter three 8-inch round pans.
  2. Cake batter: In a large mixing bowl, sift together the flour, baking powder, and cocoa powder. Mix in the hazelnut meal and set aside. In a separate mixing bowl, whip the eggs and sugar using an electric mixer on high, for about 5 minutes (when it has tripled in size). Slowly mix in the dry ingredients into the egg mixture and then divide the batter evenly between the three pans. Bake for about 25 minutes or until a toothpick comes out clean when pierced. Remove from the oven and allow to cool for about 5 minutes before transferring to a cooling wire rack to completely cool down before frosting.
  3. Frosting: Add the chocolate to a microwave safe bowl and melt the microwave, stopping every few seconds to stir and prevent the chocolate from burning. Once melted, remove and allow to slightly cool to room temperature. Transfer the chocolate to a mixing bowl and whip together with the unsalted butter, Nutella, and vanilla extract until well combined. Take half of the frosting mixture and place it into another bowl and stir in the crushed roasted hazelnuts.
  4. Assembly: Place the wafer biscuits in a ziplock bag and crush them with a rolling pin. Place the first layer of the cake onto a round cake board. Spread with half of the hazelnut frosting mixture of the frosting and sprinkle with some of the crushed wafers. Repeat for the remaining layer.
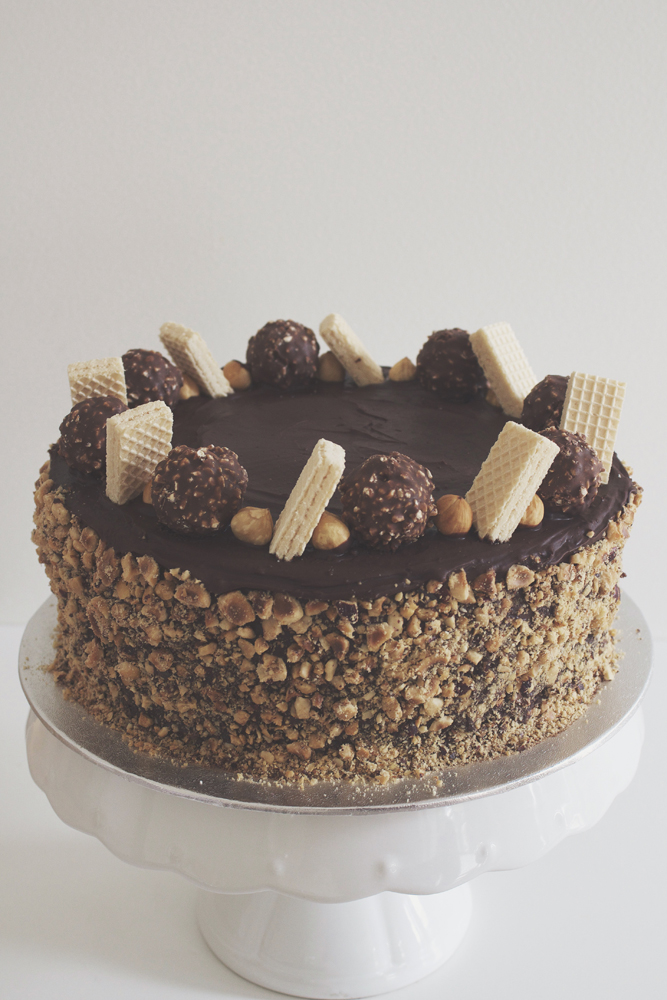
  5. Decorating: Cover the whole cake and sides with the plain chocolate frosting. Press the roughly chopped hazelnuts onto the sides of the cake and decorate the top of the cake accordingly or however you wish to. Serve!

Ferrero Rocher & Nutella Cake with Hazelnuts

Ferrero Rocher & Nutella Cake with Hazelnuts

BON APPÉTIT

– Ally xx

myTaste.com

Layered Chocolate & Salted Caramel Cake

Layered Chocolate & Salted Caramel Cake

Hello Everyone and welcome back to reading another blog post! So this recipe was actually made (and consumed) yesterday, but I would like to take this opportunity to tell you all what the cake was for. Basically last week when Jialing and I were having our lava cake bake off session, Lydia asked if I was free next week (which was yesterday), to make a chocolate cake for her birthday (which is today, Sunday). So first off, Happy 21st Birthday once again to my housemate and friend, Lydia! So on Thursday, I was going through chocolate cake recipes to make, and I came across this one on Taste. Chocolate and Salted Caramel – the ultimate flavour sensation! Jialing, and most specifically the birthday girl, were happy with this selection. So Saturday morning, Lydia and I met up with Jialing at Kingsford, had a gigantic lunch, and then headed over to Maroubra Junction to do our grocery shoppings, and also of course cake ingredient shopping. While shopping – may I just point out, we saw a tub of ready made salted caramel. We debated over whether we should just buy one, and I made the call to just make our own caramel – I mean why not? We were already making the cake from scratch!

Got home and immediately started on the cake because we knew it was going to take a while. Of course, Lydia was on dry ingredient duty, Jialing took over the wet, while I helped Lydia with the dry. Popped the mixture in the oven, and then it was onto the salted caramel. Seriously, so many problems with this, but nonetheless, it tasted #amazeballs. Also, while I was working on this, Jialing and Lydia started to prep the frosting for the cake. Also, somewhere in-between all that, Vidhya, our acting supervisor (not really) sat around and watched the chaos unfold in the kitchen – okay she did help a little bit as well before going back to sleep again (after having just woken up from her slumber). It was then more or less time to take the cakes out of the oven, left to cool, and then assemble! We assembled the first two layers and then, disaster struck. Our top layer wasn’t cooked all the way through so we had to pop it back into the oven. Once we got it out of the oven, we still had to wait for it to cool down. While that was happening, we left everything to where it was and headed out to get a take out dinner. We were so engrossed in our cake making session that we totally forgot about dinner! So went to the Indian place nearby and got dinner for 6 – by then Abdullah, Marissa, and Vidhya (when she woke up) joined us.

Layered Chocolate & Salted Caramel Cake

We then assembled the cake. Once that was done and over with, we had Vidhya distract Lydia so that we could put candles on her cake (which by the way she was not expecting). It was hilarious because whatever Vidhya needed doing was basically a one-man job turned two/three person job just to keep Lydia distracted and away from the dining room for a bit. When she finally walked back into the dining room, she was SO happy and even had a little jump/skip when she saw the candles on her cake. Priceless moment. We then took photos, sang happy birthday, had more housemates join us, ate cake, drank wine, and had a good time. So yes, if you took the time to read all that, thank you! And if you are just here for the recipe, fear not, it begins here…


Layered Chocolate & Salted Caramel Cake Ingredients

Layered Chocolate & Salted Caramel Cake Ingredients

PREP TIME 20 MINS | COOKING TIME 30-35 MINS | SERVES 8-10

INGREDIENTS

For the cake

  • 2 cups plain flour
  • 1 & 1/2 cups self-raising flour
  • 1 & 1/2 cups buttermilk
  • 1 & 1/4 cups caster sugar
  • 1/2 cup cocoa powder
  • 1/2 cup vegetable oil
  • 395g can caramel*
  • 4 free range eggs
  • 2 tsp vanilla extract (or 1 tsp if using concentrated extract)
  • 1 & 1/2 tsp sea salt rocks
  • 1 tsp baking soda
  • Sea salt rocks, to decorate (optional)

For the chocolate frosting

  • 400g dark chocolate, melted and cooled
  • 250g unsalted butter, softened
  • 1/2 cup icing sugar, sifted
  • 1/4 cocoa powder, sifted

*If you read all of the above before scrolling down to the recipe, I actually made my own salted caramel which I will be uploading the recipe to tomorrow (hopefully), so stay tuned for that!

METHOD

  1. Preheat oven to 180C. Grease three 9″ round disposable aluminium tins (we didn’t have cake pans to work with so we bought these instead, and since they came in a pack of three, we made a three-layer cake instead).
  2. Sift flours, sugar, cocoa, baking of soda and 1/2 teaspoon of salt into a large bowl. Add in the eggs, buttermilk, oil, vanilla extract, and 1 cup cold water. Combine using a spatula. Then, using and electrical mixer, beat the mixture over medium speed for 3 to 4 minutes or until the mixture is smooth.
  3. Divide the batter between the tins and bake for 30 to 35 minutes or until a skewer inserted in the centre comes out clean. Stand in pans for 5 minutes before turning them out onto a wire rack to cool.
  4. Meanwhile, gather ingredients for your salted caramel while waiting for your cakes to cook (if making from scratch).
  5. Chocolate Frosting: Whisk the cocoa powder and 1/4 cup of warm water in a bowl until the cocoa powder has dissolved. Meanwhile, using an electric mixer, beat butter and sugar until pale and fluffy. Beat in the melted chocolate, then cocoa mixture until combined.
  6. Using a serrated knife, trim tops of cakes. Then, transfer the base of 1 cake to a plate. Spread with 1/3 of the caramel. Top with another cake layer and spread with 1/2 of the remaining caramel. Repeat layering with 1 cake layer and remaining caramel mixture. Top with remaining cake layer. Spread top and sides of cake with chocolate frosting. Serve!

Layered Chocolate & Salted Caramel Cake

Layered Chocolate & Salted Caramel Cake

You can’t really see the layers of caramel in-between because while we were assembling we realised that the top layer wasn’t cooked all the way through. So while waiting for that to bake away in the oven, on top of getting take out and eating dinner, the caramel that was on the other layers of cake either seeped into the cake or dripped over the sides. Sad times, but still oh so decadent in flavour!

Happy Birthday Lydia

Once again, Happy Birthday Lydia! ❤

BON APPÉTIT

– Ally xx

myTaste.com