Hello Everyone! Just 20 more days until Christmas, which means that Simbang Gabi is just around the corner! Simbang Gabi is a well-loved holiday tradition amongst Filipino Catholic devotees who attend mass at 4am. It is a series of 9 Novena Masses that commences on the morning of December 16 and culminates with the Misa de Gallo on Christmas Eve.
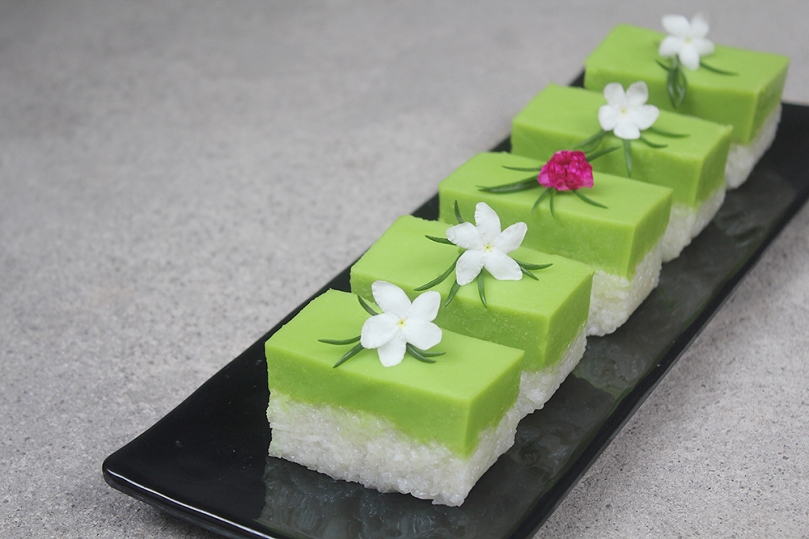
Apart from the Mass itself, another much loved part of the Simbang Gabi tradition that many look forward to are the local delicacies served just outside of the churches. You’ll find many vendors selling local Christmas favourites such as Suman, Puto Bumbong, Bibingka, Sapin-Sapin, and plenty more! Nowadays, these yummy treats, also known as kakanins, can be found in many establishments nationwide all year around so you don’t have to wait for Christmas to have your fill of them.
For the last month of the year, I will be sharing recipes for these traditional Filipino Christmas breakfast delights with you. And I’m going to kick it off with a popular favourite – Suman 3 ways!
Glutinous Rice (Malagkit) is a type of rice that is famous throughout Asia for its culinary use, especially in many variations of sweets. Here in the Philippines, one of the MANY most loved ways to cook glutinous rice is to wrap it in a banana leaf and then steamed. It is very easy to make, however time consuming. Filipinos take pride in doing it and many households have their own secret way to making this sweet and sticky rice delicacy.
Suman Malagkit

In its simplest and most basic form is the Suman Malagkit, or translated, Sticky Rice Roll in a Banana Leaf.
PREP TIME 4 HOURS | COOKING TIME 2 HOURS | SERVES 20 PCS
INGREDIENTS
- 2 cups glutinous rice, uncooked
- 2-3 cups coconut milk (fresh, canned, or frozen)
- 1 tsp salt
- Banana leaves for wrapping
METHOD
- Malagkit Mixture: In a large bowl, soak the glutinous rice for 2 to 3 hours to soften, and strain when ready to cook.
- Place the strained glutinous rice in a large pot together with the coconut milk and salt. Bring to a brisking boil.
- Once boiling, immediately turn the heat down to low until the rice and coconut milk mixture comes down to a slow simmer. Give it a good stir and then simmer for about 20 to 30 minutes. Stir occasionally to keep the rice from sticking to the bottom of the pot.
- Turn the heat off, and leave the mixture for a further 15 to 30 minutes, covered, to allow the rice to finish cooking and cool down.
- Wrapping: While waiting for the rice to finishing cooking, prepare the banana leaves by quickly passing them over an open flame to make the leaves soft and pliable so that they are easier to work with when wrapping. This method also releases the natural aroma of the leaves.
- Cut the leaves into equal sizes, depending on the size of the suman roll that you want to make.
Scoop about 2 to 3 heaping tablespoons of the rice onto the prepared banana leaf and shape into a log, leaving about 1 inch on the sides. Roll the banana leaf tightly around the rice to form a log and fold both edges in to seal.
- Repeat until all of the rice has been wrapped, yields about 20 pieces.
- Cook: Stack the suman rolls in a steamer and steam over boiling water for about 30 to 60 minutes. Make sure that they are tender before removing them from the steamer.
- Serve: Allow to cool slightly before unwrapping. Serve with fresh grated coconut, brown sugar, or my absolute favourite – with sweet ripe mangoes! They can also be enjoyed on its own without any accompaniments.
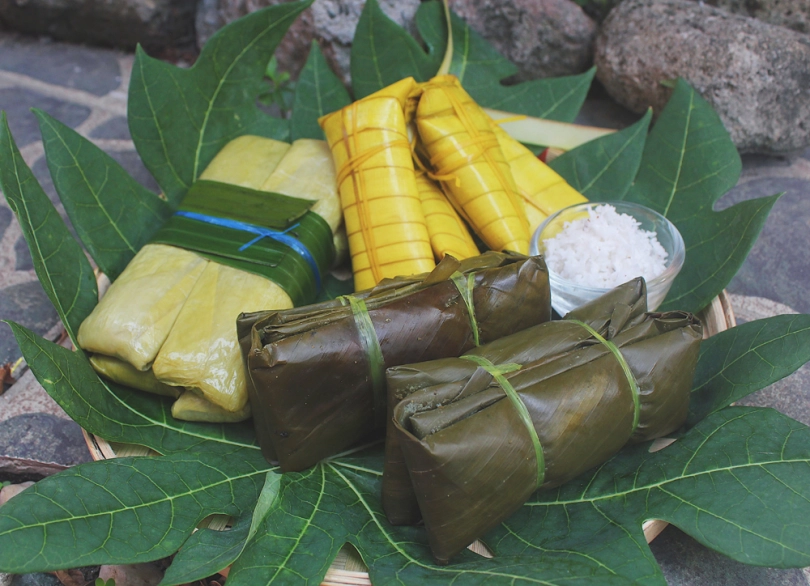
Suman sa Lihiya / Sumang Magkayakap
This is basically the same as Suman Malagkit, but is treated with lihiya (lye water) which gives the suman its yellowish colour, a delicacy from the southern part of Luzon, especially in the Batangas Region.
It is also known as Sumang Magkayakap because of how it is served – two rice cakes tied together appearing as if they are embracing/hugging (magkayakap) each other.
PREP TIME 4 HOURS | COOKING TIME 2 HOURS | SERVES 24 PCS
INGREDIENTS
- 3 cups glutinous rice, uncooked
- 1 tbsp lye water
- Banana leaves for wrapping
- Food-safe cotton string
METHOD
- Rice Mixture: In a large bowl, soak the glutinous rice for 2 to 3 hours to soften. Strain the water and then mix in the lye water together with the drained rice until it turns yellow in colour.
- Wrapping: Prepare the banana leaves by quickly passing them over an open flame to make the leaves soft and pliable so that they are easier to work with when wrapping. Cut the leaves into equal sizes, depending on the size of the suman roll that you want to make.
- Scoop about 3 heaping tablespoons of the rice onto the prepared banana leaf and shape into a log, leaving about 1 inch on the sides. Roll the banana leaf tightly around the rice to form a log and fold both edges in to seal.
- Take two of the wrapped rice rolls, with the folded sides facing each other, and tie them together using the cotton string.
- Repeat until all of the rice has been wrapped, yields about 24 pieces or 12 pairs of Sumang Magkayakap.
- Cook: Arrange the suman rolls in a large cooking pot. Pour enough water (room temperature) to cover them. Bring to a boil over low heat for about 2 hours or until done.
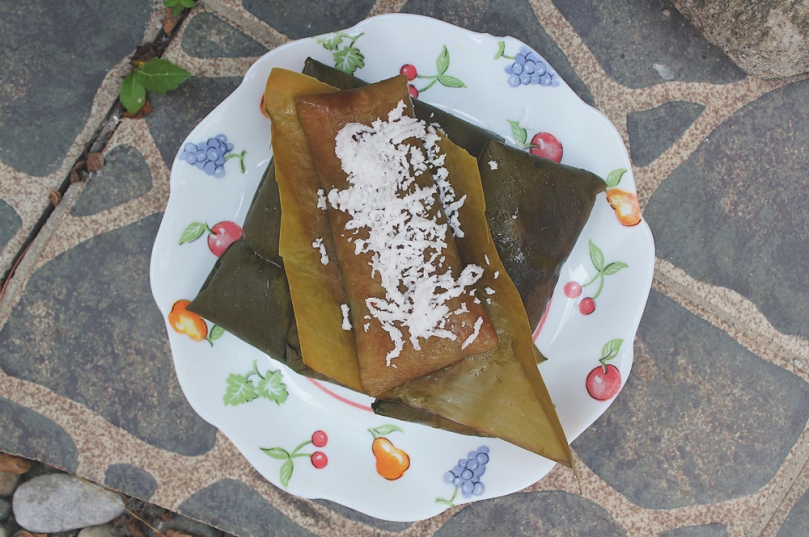
- Serve: Allow to cool slightly before unwrapping. Serve with fresh grated coconut or a sweet latik sauce.
Suman sa Ibos
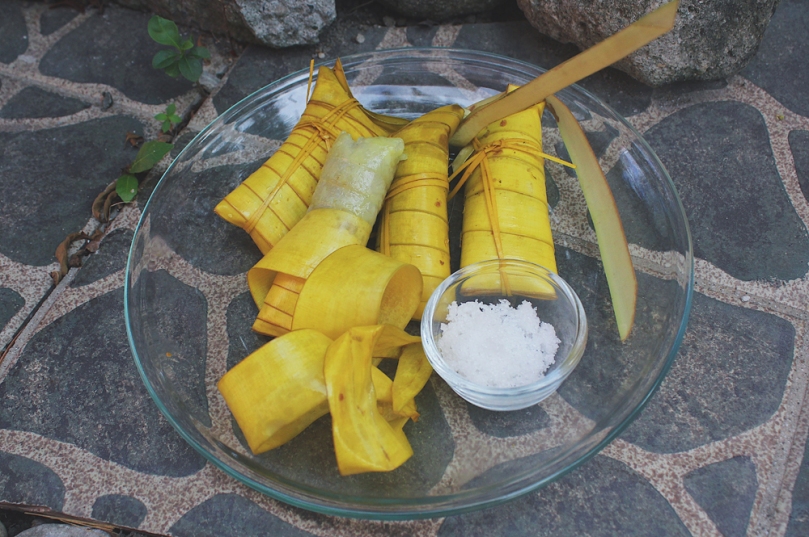
A native delicacy known simply as Ibos (or also spelt as Ibus) by Ilonggos that is wrapped in palm or buri leaves. This is the counterpart of banana leaves, which is commonly used in many other suman recipes. They are mostly grouped and sold in bundles be it on the streets, in markets, mall stalls, and even restaurants.
The challenge with Suman sa Ibos is not the in cooking processing, but in preparing the ‘container’. You will need to swirl the palm leaves over a mold and locked properly to make individual containers to hold the glutinous rice mixture.
PREP TIME 3 HOURS | COOKING TIME 2 HOURS | SERVES 20 PCS
INGREDIENTS
- 2 cups glutinous rice, uncooked
- 2-3 cups coconut milk (fresh, canned, or frozen)
- 1 tsp salt
- Palm or buri leaves for wrapping
METHOD
- Preparation: In a large bowl, soak the glutinous rice for 2 to 3 hours to soften.
- While waiting for the rice, prepare the ibos (palm leaf) container/wrapper. The leaves should be about 1.5 inches in width. Fold the bottom edge of the palm leaf into a triangle. Swirl the leaf in an overlapping manner to create a cylindrical mold. To secure the tube, you can lock the leaf using a small piece of wooden pick. Prepare about 20 containers.
- Once the rice is done, drain the excess water and mix the coconut milk and salt in thoroughly. Set aside to stand for about 10 minutes.
- Fill the ibos container 3/4 of the way with the glutinous rice mixture. Seal the container by using the strips of the palm leaves.
- Cook: Arrange the suman containers in a large cooking pot. Pour enough water (room temperature) to cover them. Bring to a boil over low heat for about 2 hours or until done.
- Serve: Allow to cool slightly before unwrapping.Best paired with muscovado sugar or regular white sugar. Also best eaten with ripe mangoes or native tsokolate/tablea.
And there you have it! 3 ways in which you can make Suman! Of course there are many others way in which you can make suman that is native to the province of which they originate from. Two favourites of mine, which I have not included in this post, are Tupig native to Pangasinan and Ilocos Norte, and Suman Pinipig from Bulacan. These two are a little more complicated than the basic ones that I’ve shared in this post. You can find Suman Pinipig in many mall stalls across Metro Manila, however I still have yet to find Tupig around here.
With these rice cakes, you don’t necessarily have to eat it the moment you finish cooking it. It does however; definitely taste better when it’s not chilled. If you need to keep it in the fridge and indulge in them the day after, you can easily steam them again for 10 minutes before serving.
BON APPÉTIT
– Ally xx