Auguest 2018: Wendy Chok

Rustic Bread: PMS Toast

It’s me Wendy, back for another recipe to share! The last time I was on here I shared a recipe for homemade Rustic Bread and a savoury Pizza Toast brekkie with everyone. This time I will be sharing what I like to call ‘PMS Toast’ which I will explain further in a while. I also shared a little bit about myself, and my love for food, so now I will share about how I know Ally on a personal level.

I met and got to know Ally about 3 years ago through work. She was one of my team members in our Marketing team for an Advertising and Event Management firm that we both worked at. We became very close friends and still even so after having left the company because we have the same level of random craziness, vibe, and of course our love for all things food.

Amcarmen's Kitchen & Peek A Pastry
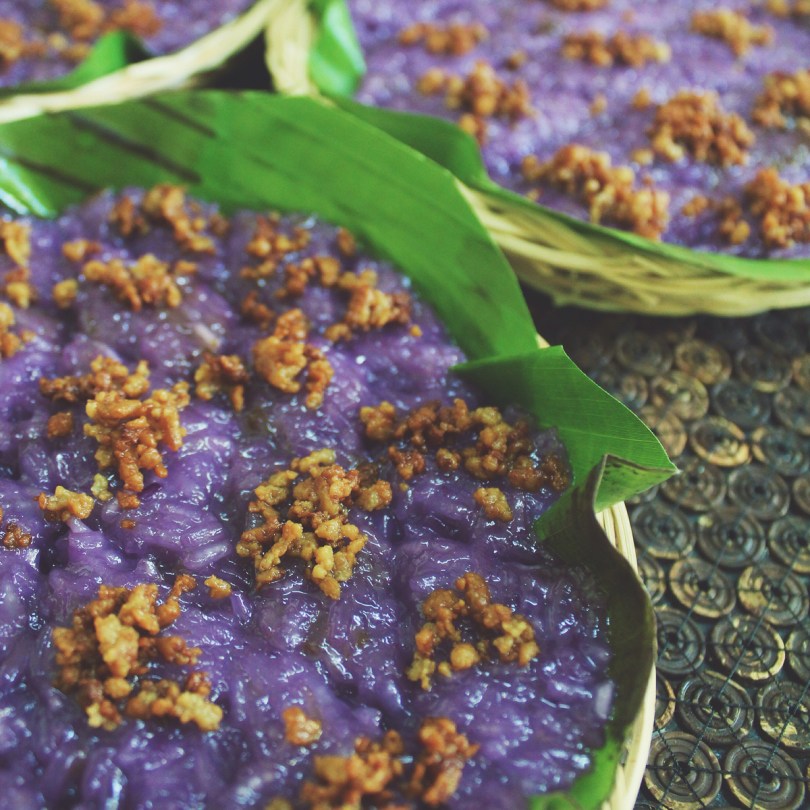
Peek A Pastry & Amcarmen’s Kitchen

We share a special kind of bond at work and it might be because we spend a lot of time together, at work of course, for a lot of event events, working late at night on occasions, have food together in the office whether breakfast, lunch, snack time or dinner time, and enjoy great food together in celebration for when we’ve successfully finished every event that we’ve worked on. I love our team because we always had each other’s backs and we just simply complement each other well.

I know that Ally wants to pursue her dream to participate in MasterChef Australia and I am using all my power on law of attraction to make it happen. I will see Ally in MasterChef Australia one day and tell my kids or grandkids that “that is my friend!”

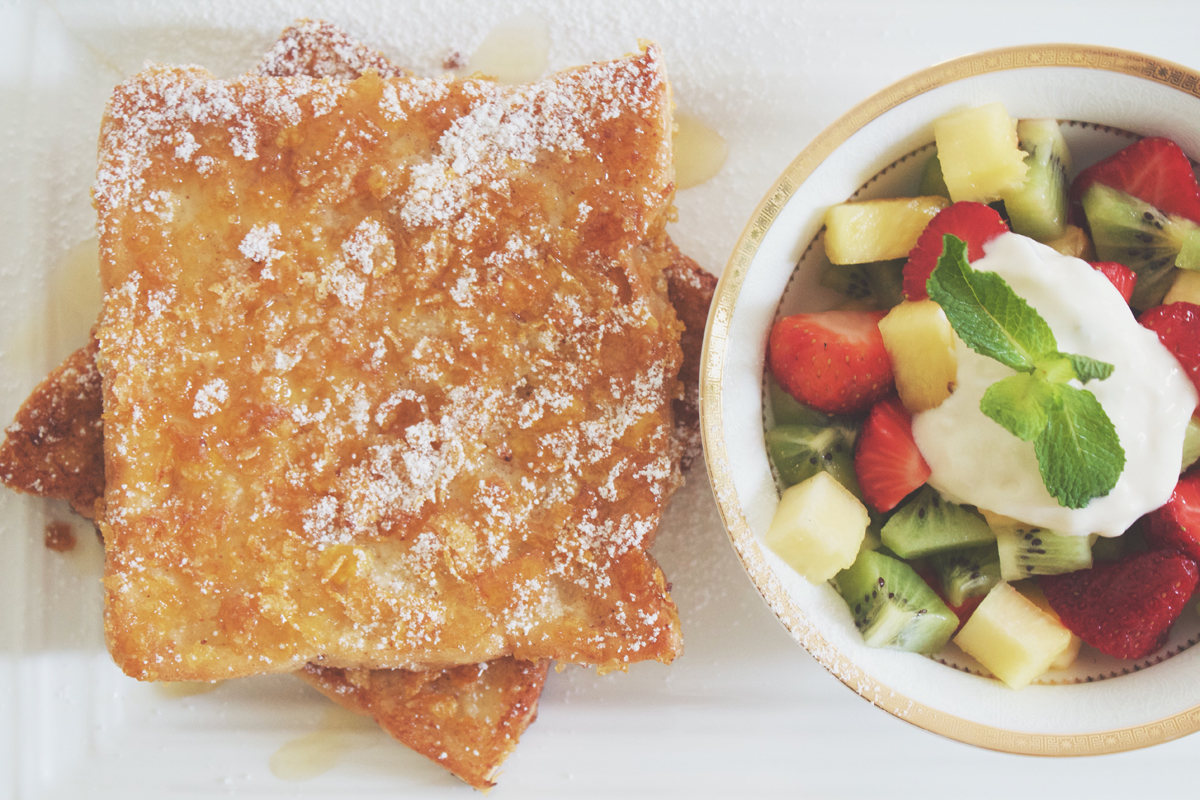
Moving on – I am not a sweet tooth but when the time (PMS) comes, nothing is sweet, what is sweet? How do you spell sweet? C-A-L-M is how you spell sweet. When you are cranky and tired, you just crave for something sweet, something sugar loaded and warm. So here I present you two fast and sweet breakfast ideas to hit my spot, and hopefully yours too.

PMS Toast: Cinnamon Everything Toast

PREP TIME 5 MINS | COOKING TIME 10 MINS | SERVES 1

INGREDIENTS

  • 2 slices of homemade Rustic Bread
  • 1 tbsp brown sugar
  • 1 tbsp unsalted butter, at room temperature
  • 1 tsp ground cinnamon (2 teaspoons for me, the cinnamon lover)

METHOD

  1. Place the butter in a small heatproof bowl and melt in the microwave for about 20 seconds. Make sure that it is not too liquidy as you want those buttery chunks on your toast. I like it rustic on this rustic bread.
  2. Mix all the ingredients together and smother it all over the toast.
  3. You can either bake it or toast it on a pan. Bake it at 240C (475F or gas mark 9) for 10 minutes, just enough time for everything to crunch up. If you like it toasted in a pan, face the side, which is smothered by the cinnamon paste down on the pan, and sear it for 2 minutes over medium heat.
  4. Serve and enjoy with a hot cup of coffee for breakfast or even as a nice afternoon snack!

Rustic Bread: PMS Toast

PMS Toast: Butter & Sugar Toast

PREP TIME 5 MINS | COOKING TIME 10 MINS | SERVES 1

INGREDIENTS

  • 2 slices of homemade Rustic Bread
  • 1 tbsp unsalted butter, at room temperature
  • 1 tsp granulated white sugar

METHOD

  1. Smear the butter over the toast and sprinkle the top with white sugar.
  2. Bake it at 240C (475F or gas mark 9) for 10 minutes.
  3. Serve and enjoy with a hot cup of coffee for sweet start to your morning!

Short and sweet, just nice for a woman who is PMS-ing. Men take note!

Rustic Bread: PMS Toast

Before I say goodbye to everyone on Amcarmen’s Kitchen, I would like to thank Ally for giving me this opportunity to write on her well-established blog. I hope that my recipes are not too shabby and please dive in to my rustic way of cooking!

Photo Courtesy & Recipe Copyright © 2018 | peekapastry

– Wendy (Peek A Pastry)

myTaste.com

Advertisement

Hamonado (Pork Rolls Stewed in Pineapple Juice)

Hamonado (Pork Rolls Stewed in Pineapple Juice)

Hello Everyone! First of all, apologies for a later than usual post. I just got back home about an hour ago and yes, I am still writing this post – I didn’t manage to get around to writing this in advance knowing that I wouldn’t get home until later than I usually do. Oh well! Anyway, we’re halfway through our 12 days before Christmas Special on Amcarmen’s Kitchen, and I want to know, which of the ones that have been posted are your favourites? Let me know in the comments section below 🙂 Anyway, tonight’s recipe is just as simple in terms of the ingredients used to make such lavish looking dish, and delicious of course, for Noche Buena. However, the dish is not limited to the Christmas season as it can also be found on tables on an everyday basis.

In a nutshell, Hamonado is simply, thinly sliced pork (like tapa style) sweetened in pineapple juice. It resembles sliced ham but is often thick, juicy, and exceptionally sweet. What makes this dish quite interesting is due to it’s simplicity – here are the three very basic steps: marinating, pan-frying, and simmering. What makes this dish right on the money is because of the balance of flavours – you’ve got the sweetness from the pineapple juice and sugar mixture that penetrated through a lovely pork shoulder from the marinating process, while you get a hit of salt from the salted egg that is stuff in between the meat when it is rolled up.

Hamonado (Pork Rolls Stewed in Pineapple Juice)

From doing some research on this dish, I’ve found multiple recipes that skip the process of having to roll up the meat into a log, which is also okay to do so as the flavours still remain the same. If you wish to go down this path, then I suggest you cut your pork shoulder into chunks instead of slicing it thinly and flattening it out. This is actually the easiest way of cooking pork hamonado for the novice cooks to take a stab at. I think what my Mom ended up doing was that she rolled up about 1/2 of the pork, and the other half she just stewed it in the marinade.

Hamonado (Pork Rolls Stewed in Pineapple Juice) Ingredients

PREP TIME 20 MINS* | COOKING TIME 30-45 MINS | SERVES 10-12

*Does not include marinating  process which is a minimum of 3 hours, or preferably overnight. Plan your time according by taking this into account.

INGREDIENTS

  • 3kg pork shoulder, sliced thinly
  • 4 salted eggs, hard boiled, and cut into 4 wedges
  • 2 cups sugar
  • 2 bulbs garlic, minced
  • 1 can (1360ml) Del Monte pineapple juice
  • 1 can (340g) pineapple slices
  • 1 tbsp achuete powder
  • Ground salt and pepper, to taste,

METHOD

  1. Combine the thin slices of pork in a large mixing bowl together with the pineapple juice, sugar, and achuete powder. Give it a good mix until the sugar has dissolved. Cover with plastic wrap and leave it in the refrigerator to marinate for a minimum of 3 hours, overnight preferred to soak up more of the flavours (my Mom marinated it for three days).
  2. Remove the pork from the marinade (do not discard), and place the slice on a flat surface and arrange the salted egg in the centre of the slice. Roll and form into a log. Secure the roll by tying cooking string around the log, making sure that it is tight enough to hold the roll.
  3. Heat about 2-3 tablespoons of oil in a large pot over medium-high. Sauté the garlic until fragrant and golden brown, about 1-2 minutes. Follow with the rolls of pork, searing it until all sides are golden brown, approximately 5-8 minutes. Pour in about half of the marinade juices and leave to simmer for about 30-40 minutes, or until the sauce thickens. You will need to flip the pork rolls from side to side every 15 minutes.
  4. Once done and the sauce has thickened, remove the pork rolls  and place it on a platter. Carefully remove the cooking string and slice into serving pieces.
  5. Pour the sauce over the pork hamonado rolls and serve, and enjoy with pineapple slices and any extra  wedges of salted egg. Usually eaten with steamed rice.

Hamonado (Pork Rolls Stewed in Pineapple Juice)

Hamonado (Pork Rolls Stewed in Pineapple Juice)

BON APPÉTIT

– Ally xx

myTaste.com

Bikò (Sweet Sticky Rice Cake with Coconut Curd Toppings)

Bikò (Sweet Sticky Rice Cake with Coconut Curd Toppings)

Hello Everyone! Day 05 of 12 is here and I have another dessert to share with all the sweet tooth’s out there. If you are following my Instagram page (@amcarmenskitchen), I posted a picture of the ingredients and made mention that you essentially only need 4 ingredients (actually 3 because you can omit one of the ingredients) to make this yummy and definitely filling dessert! All you really need it glutinous rice, white sugar, coconut milk, and a bit of violet food colouring. You can omit the food colouring and substitute the white sugar for brown to colour your bikò, which is actually how it’s traditionally done. I only picked up the idea of using violet colouring from my Mom’s relative when we visited their whole family in Canada back in the Summer of 2007. Adding the violet colouring doesn’t do anything for the taste (duh), but it definitely makes the dish a whole lot more attractive and inviting.

For those of you who don’t know, bikò, or otherwise known simply as a Filipino Sticky Rice Cake, served during special occasions such as birthday parties, family reunions, town fiestas, and of course, for Noche Buena. It’s not a tedious process, it’s just hard on the arm because of all the mixing that needs to be done.  It is then garnished with latík, which is basically just cooked coconut milk residue, set at the centre of each slice, and is traditionally served over a banana leaf in a bilao, which is basically just a round woven bamboo tray.

Bikò (Sweet Sticky Rice Cake with Coconut Curd Toppings) Ingredients

PREP TIME 10 MINS | COOKING TIME 40 MINS | SERVES 6-8

INGREDIENTS

  • 2 cups glutinous rice, washed and drained
  • 2 cups water
  • 2 packs (200ml each) coconut milk
  • 1 cup white sugar
  • 2 tsp violet food colouring
  • Banana leaves
  • Bilao

METHOD

  1. Add the glutinous rice, water, and violet for colouring in a large pot. Mix and then place over high heat, leaving the rice to cook for about 15 minutes or when the rice is about half-done.
  2. When the rice is half-done, add in one of the packs of coconut milk and mix well. Leave it to cook for another 15 minutes or until the oil starts to separate from the coconut milk. At this point, you want to reduce your heat down to about medium-low to avoid the rice sticking to the bottom of your pot.
  3. Meanwhile add the other pack of coconut milk in a separate pan and cook until the oil separates from the milk and turns golden brown. Drain from the oil and then set aside.
  4. Prepare the banana leaves by lightly heating it over the stovetop burner to make it pliable and easy to handle. Then, place the the banana leaves over the bilao and set aside.
  5. Crank up the heat to about medium-high and add the sugar into the glutinous rice mixture. Mix and allow the sugar to caramelised, about 10 minutes. Once done, turn the heat off.
  6. Assemble by spreading the sweet sticky rice cake mixture onto the prepare bilaos lined with banana leaves. Flatten evenly. Cut the rice cakes into diagonals and top the centres of each diagonal with some latík.
  7. Serve, share, and enjoy warm! This recipes makes for about 4 palm-sized bilaos.

Bikò (Sweet Sticky Rice Cake with Coconut Curd Toppings)

ps: apologies for only posting one picture of this dish (as you know it’s unlikely of me to only post one picture of the final dish), but I made this a while back, 2 years ago to be exact, and this was the only picture that I could find *sad face* at least it is a good picture!

BON APPÉTIT

– Ally xx

myTaste.com

Cornflake-crusted French Toast

Cornflake-crusted French Toast

Hello Everyone! I’ve got another french toast recipe with a twist for you again today, but this time there will be no added milo to it. Instead we’re gonna crust our classic french toast with some cornflakes to give it that extra added crunch to an already soggy bread. I came across this idea a couple of months ago back in July when Symmetry Breakfast went viral. They posted a photo of some cornflake-crusted french toast and when I planned for Breakfast/Brunch Month for October, I knew I had to tackle a recipe for that!

I absolutely love their work! If you have been following my Instagram during that month, you would’ve seen that Jialing and I (and Edison) hopped on the #symmetrybreakfast bandwagon for the last remaining week that I was in Sydney. Actually, I might just share the photographs here since I don’t know if I will be posting them on the blog anytime other than now I guess (click on the individual images to view a larger version of them):

Homemade Charred Eggplant & Baby Octopus Shakshuka with Lebanese Bread; Blueberry & Passionfruit Cider French Crêpes with a Honeyed Citrus Creamcheese Filling topped with a Mixed Berry Compte; Orange Sunrise Cocktail Pea and Ham Soup with Stone-baked Pane di Casa and Strawberry & Lime Cider
Potato Hash Crusted Breakfast Quiche with Caramelised Onion, Chorizo, Spinach, and Sunnyside Up Egg with Mixed Leaf Salad and Garlic Butter Bread Beer, Bacon, and Tater Soup (aka “Man Soup”) with Pane di Casa; Russian Earl Grey Tea Fancy Filipino Hotsilog Brekky with Sweet Potato Hash Browns and Brekky Mocktails

L-R: Homemade Charred Eggplant & Baby Octopus Shakshuka with Lebanese Bread; Blueberry & Passionfruit Cider | French Crêpes with a Honeyed Citrus Creamcheese Filling topped with a Mixed Berry Compte; Orange Sunrise Cocktail | Pea and Ham Soup with Stone-baked Pane di Casa and Strawberry & Lime Cider Potato Hash Crusted Breakfast Quiche with Caramelised Onion, Chorizo, Spinach, and Sunnyside Up Egg with Mixed Leaf Salad and Garlic Butter Bread Beer, Bacon, and Tater Soup (aka “Man Soup”) with Pane di Casa; Russian Earl Grey Tea Fancy Filipino Hotsilog Brekky with Sweet Potato Hash Browns and Brekky Mocktails

I know, they’re not quite as symmetrical as the guys from Symmetry Breakfast (we tried to be creative with our symmetry/asymmetry lines), but it still gained a lot of views, likes (especially from Symmetry Breakfast), and new followers! Anyway, yes I realise that I have gone on a bit of a tangent, but I’m pretty sure you enjoyed those photographs (for those who have not seen them that is). So let’s get down to business shall we and get a move on to today’s recipe:

Cornflake-crusted French Toast Ingredients

PREP TIME <5 MINS | COOKING TIME 8-12 MINS | SERVES 2-4*

*Depending if you want one or two slices of french toast per person; recipe is for 4 slices of bread

INGREDIENTS

  • 1 & 1/2 cups of cornflakes, crushed
  • 4 thick slices of bread
  • 1/2 cup milk
  • 1 large free range egg
  • 1 tbsp white sugar
  • 1/2 tbsp vanilla extract
  • 1/4 tsp cinnamon
  • 1/8 tsp ground nutmeg

Optional:

  • Green Kiwi
  • Pineapple
  • Strawberries
  • Honey
  • Powdered sugar
  • Vanilla yoghurt

METHOD

  1. Whisk the eggs together with the milk, sugar, spices, and vanilla extract in a bowl.
  2. Dip both sides of a bread slice to soak up the wet mixture; do not soak it for too long. The dip the soaked sliced bread into the cornflake crumbs and coat.
  3. Place the bread slice into the frying pan and cook until done, 2-3 minutes per side.
  4. Once done, transfer to a plate lined with a paper towel to soak up any excess oils. Repeat for the remaining bread slices.
  5. Top with your favourite toppings, and/or serve with your choice of fruits for a fresh salad on the side. Enjoy!

Cornflake-crusted French Toast

Cornflake-crusted French Toast

BON APPÉTIT

– Ally xx

myTaste.com

Auguest 2015: Josephine Geronimo

Ginataang Munggo (Roasted Mung Beans & Sticky Rice in Coconut Milk)

Hello Everyone! Alas, we’ve come to the end of my mini collaboration series for this month! My last post for this Auguest that my Mom has kindly shared with us is another mung bean recipe that she grew up eating during her childhood years.

Ginataang Munggo (Roasted Mung Beans & Sticky Rice in Coconut Milk)

If you haven’t read Wednesday’s post, my Mom mentioned there that once a year when her whole family went to visit the province that they were from, they would always bring back one 50kg sack of munggo (mung beans) to the city, where they lived, from their farm. Everyday, Munggo Guisado (Sautéed Mung Bean Soup) was what they had for lunch and dinner, and for merienda, they’d have mung beans as well – there was no escaping the wrath of the mung beans – whether savoury or sweet! After lunch, everyone would take a 2-hour break before they’d be back in the kitchen, preparing and cooking Ginataang Munggo for merienda at 3pm.

Ginataang Munggo (Roasted Mung Beans & Sticky Rice in Coconut Milk) Process

Ginataang Munggo is basically roasted or toasted mung beans cooked in coconut milk together with some glutinous rice. It is a simple Filipino dish that can be eaten for either merienda (light afternoon meal or an afternoon snack) or dessert that is best served warm. toasted Mung beans and sticky rice are cooked in coconut milk. Though this dish has been a part of my Mom’s family tradition way back when she was still in her younger years back in the Philippines, today is the first time my Mom cooked this dish and served it to my sister Angela and I. Now that my Mom has passed on her two favourite mung bean recipes from her childhood, she said to me that it is but right that I pass them on to my children to be and keep tradition going – hopefully my children won’t be as fussy as I was before when I used to hate munggo!

Ginataang Munggo (Roasted Mung Beans & Sticky Rice in Coconut Milk) Ingredients

PREP TIME 15 MINS | COOKING TIME 30 MINS SERVES 6-8

INGREDIENTS

  • 1.5L boiling water water
  • 1 can (400ml) coconut milk
  • 1 cup glutinous rice
  • 1/2 cup mung beans
  • 1/2 cup white sugar

METHOD

  1. First, heat up a medium-sized frying pan over medium-high and add the mung beans. Toast until browned, about 8-10 minutes. Be careful as to not over toast them otherwise they will become bitter. Likewise, you can roast the mung beans in the oven for about 10 minutes at 200C.
  2. Turn the heat off and set the mung beans aside to cool down.
  3. Once the mung beans have cooled down slightly, crack the toasted mung beans using a mortar and pestle, or as my Mom prefers, by using a rolling pin. Set aside.
  4. Add the boiling water and sugar to a large pot over medium-high heat and dissolve the sugar. Once dissolved, add the coconut milk and bring to a boil.
  5. Once boiling, add the glutinous rice and mung beans, then give it a good stir. Turn the heat down to low and cook for 15 to 20 minutes or until the coconut milk is almost absorbed, stirring once a while to make sure that the rice doesn’t stick to the bottom of the pot.
  6. Once done, turn the heat off and let it sit in the post for a further 5-10 minutes. Then,transfer to individual serving plates.
  7. Share and enjoy! You may serve this either hot or cold. I prefer having this hot with a pinch of salt on top to further enhance the flavours.

Ginataang Munggo (Roasted Mung Beans & Sticky Rice in Coconut Milk)

Ginataang Munggo (Roasted Mung Beans & Sticky Rice in Coconut Milk)

And that about wraps up guest blogging month for this year! Many thanks to Jialing, Brendon, Marissa, and my Mom for participating in my very first Auguest series. I’m actually pretty happy with how this all came together in the end. It was hectic at first trying to find the how ever so many bloggers I had in mind for this collaboration series, but then narrowing it down made it much more simpler and much easier to communicate with my friends and fellow bloggers. If you enjoyed this mini collaboration of mine, let me know in the comments section below and I’ll see to organising this into a yearly series 🙂

My Mom and I at Bondi Beach, Australia 2015
my Mom and I at Bondi Beach, July 2015

PS: Back in the day in the 70s, canned coconut milk was not a thing yet and so my Mom had to buy a whole matured coconut and manually grate it. From the grated coconut, she then had to squeeze the milk out of it for this dish. This dish was a lot of hard work for her back in the day, which is why she was so confused as to why this dish took no effort at all for her to make, and then she realised it was because we already had coconut milk readily available.

BON APPÉTIT

– Ally xx

myTaste.com

Auguest 2015: Jialng Mew

Polvorón Pops (Popvoróns)™

Hello everyone, it’s Jialing again, with my second/final recipe for this week. It’s been a pleasure sharing my recipes with you, and I hope to do it again in the future, but in the meantime, feel free to add me on Instagram – @jialingmew. Also, check out Tuesday’s Chicken Pastel Mini Pot Pies if you haven’t already 🙂 Today’s recipe is another one of my Filipino favourites, but this time based on a sweet treat called Polvorón, which is made with powdered milk and toasted flour and wrapped in colourful cellophane.

Polvorón Pops (Popvoróns)™

I’d previously tried to bring packs of polvoron back to Sydney with me after a trip back to Manila so that my Australian friends could try it, but was told at Sydney Airport Customs that it was on the permanent confiscation list, because of the powdered milk. But fortunately, Australia is not doomed to a polvorón-less fate! The ingredients are actually all very easy to find, and had I realised at the time that they were so simple to make, I wouldn’t have had to go through all that trouble with Customs.

Polvorón Pops (Popvoróns)™

To be quite honest, although I had made polvorón before, a very long time ago, I sort of had to make up this recipe as I went along, adjusting the proportions using some educated guesswork. Traditionally, polvoron is shaped with a special metal tool – that I did not have access to. So I was stuck with the option of cookie cutters, which of course, were nowhere to be found (and probably would not work out at all, looking back in retrospect), and finally, shaping them by hand. I then had one of my pressure and stress-induced moments of genius, and polvorón cake pops happened! Luckily it worked out (better than expected, actually), so I didn’t have to come up with a different recipe, and I can quietly sit down to calmly write about this experience. The recipe can easily be adjusted to make more (or less), which is a bonus! So we all lived happily ever after ❤

Polvorón Pops (Popvoróns)™ Ingredients

PREP TIME 20 MINS | COOKING TIME 15 MINS | MAKES 16-20 POPS

INGREDIENTS

  • 1 cup chocolate chips or melts (I used 1 cup each of dark and white chocolate)
  • 1 cup plain flour, sifted
  • 1/2 cup unsalted butter, melted
  • 1/2 cup powdered milk
  • 1/2 cup white sugar
  • Additional toppings (i.e. crushed nuts or cereal, desiccated coconut, sprinkles, cocoa powder, etc)

METHOD

  1. Using a frying pan or wok, toast the all purpose flour gently on low-medium heat, stirring the flour constantly until it is very lightly browned throughout, about 10-15 minutes. You should notice a change in the aroma of the flour, though the colour change will be very slight, so keep a watchful eye on the pan! Do not overheat, as the resulting taste will be bitter (a helpful tip is to keep a small bowl of all-purpose flour nearby so you can keep checking the colour difference). Once flour is toasted, remove from heat and pour into a large heat-safe mixing bowl.
  2. Make the polvorón mixture by adding the powdered milk and white sugar to flour, stirring until well combined. Add the melted butter and continue to stir (or use hands) until the mixture resembles wet sand, and holds when pinched. At this stage, you can eat some of the polvorón mixture (highly recommended – it’s divine) and add more sugar or powdered milk to your liking. If the polvorón mixture is too dry, add a teaspoon of melted butter.
  3. Using your hands, firmly pack a small amount of the mixture into a 1-inch ball, rolling in between palms to shape. Set completed ball aside on a baking paper-lined plate or small tray, and repeat until the rest of the mixture is used up (should make around 16-20 balls).
  4. Using toothpicks or BBQ skewers (I used BBQ skewers, and cut them in half), very slowly and carefully insert pointed end about 2/3 of the way through each ball. If the ball cracks, gently press around cracked areas and reshape around the inserted skewer. Place the polvorón pops in the fridge to harden while preparing the next step.
  5. Melt chocolate using a double boiler method, being careful not to allow any steam into the chocolate. Alternatively, place into a microwave-safe bowl and heat in the microwave on high for 15 seconds at a time, stirring between intervals, until chocolate is fully melted (please note that you may need to adjust intervals according to your microwave).
  6. Place bowl of melted chocolate on a clean surface, and pour selected toppings separately into small bowls or dishes arranging work surface so that all the bowls and dishes are all adjacent to each other.
  7. Remove polvorón pops from the fridge, and dip one at a time into the melted chocolate mixture (the chocolate will start to set once removed), then immediately into the toppings. Transfer back to the tray and continue dipping and coating the remaining pops.
  8. Serve immediately, or store in a container and keep refrigerated until needed. I’m not exactly sure what the shelf-life of these is, but I’d recommend eating them within 2 weeks – if you can even resist eating them for that long #polvoronparty #theend

Polvorón Pops (Popvoróns)™

Polvorón Pops (Popvoróns)™

Recipe Copyright © 2015 | jialingmew

ENJOY YOUR MEAL!

Jialing.

myTaste.com

Homemade Strawberry Jam

Homemade Strawberry Jam

What do you do when you have a punnet or two of strawberries in the fridge that are on the verge of becoming overripe? – Make jam of course! I’m pretty sure you can do many other things with them, but today, I made jam.

I’ve actually had the strawberries in the fridge for almost 2 weeks before I decided to do something of them. I got them from my friend Pam; she was leaving to go back to Singapore that day. I wasn’t going to eat them only because I’m a bit sceptical of any fruit lasting beyond a week. The strawberries were actually still quite firm. They were very dark red in colour and the outside looked like it was starting to dry up. They were nonetheless still quite juicy when I cut them open.

Homemade Strawberry Jam Ingredients

PREP TIME 5 MINS | COOKING TIME 20 MINS MAKES 2 JARS

INGREDIENTS

  • 2 x 125g punnets of strawberries, hulled and halved
  • 2/3 cups caster sugar
  • 1/2 tsp vanilla extract
  • Zest and juice of one lemon

METHOD

  1. Combine all the ingredients in a medium-sized saucepan and cook over very low heat for 20 minutes, until the strawberries release some of their juices and the mixture boils slowly. Cook until thickened.
  2. Pour carefully into sterilised canning jars and either seal or keep refrigerated (see below on sterilising jars).

Sterilising Jars:

Jars should be made from glass with a metal lid that has a rubber seal. To sterilise the jars and lids, wash with hot, soapy water. Rinse well and arrange jars and lids open sides up, without touching, on a tray. Leave in a preheated 80C oven for 25 minutes, or boil the jars and lids in a large saucepan, covered with water, for 15 minutes.

Remember as a rule:

Hot preserves go into hot jars and cold preserves go into cold jars.

Homemade Strawberry Jam

BON APPÉTIT

– Ally xx

myTaste.com