Hello Everyone!
AMCARMEN’S KITCHEN TURNS EIGHT TODAY!
And what a journey it has been indeed! So much has happened this year that it’s been extra difficult to keep up with the blog and my social media accounts associated with Amcarmen’s Kitchen. Just before my blog turned 7 last year, I started a foodie community group on Instagram together with a foodie friend of mine, Chamaine (she also participated in my Auguest 2021 series). From there, we started organising and hosting food collaborations amongst the IG foodie community, internationally. Aside from that, I also expanded my social media reach into the world of TikTok and started uploading video content there. It was also from TikTok where I placed third in a virtual cooking competition, and was invited to join in food campaigns where I won prizes weekly.
To be honest, with all that going on side-by-side with my work and social life, I actually didn’t prepare anything for my blog’s anniversary today. In fact, I was going back and forth with myself whether to whip up something or indulge in a lazy Easter long weekend. Prior to this weekend, I spent the last two weekends (Friday to Sunday) in a classroom from 9am – 7pm where I did a Premiere Pro and After Effects course. So yes, I totally deserve a do-nothing weekend after all that *cheeky grin*.
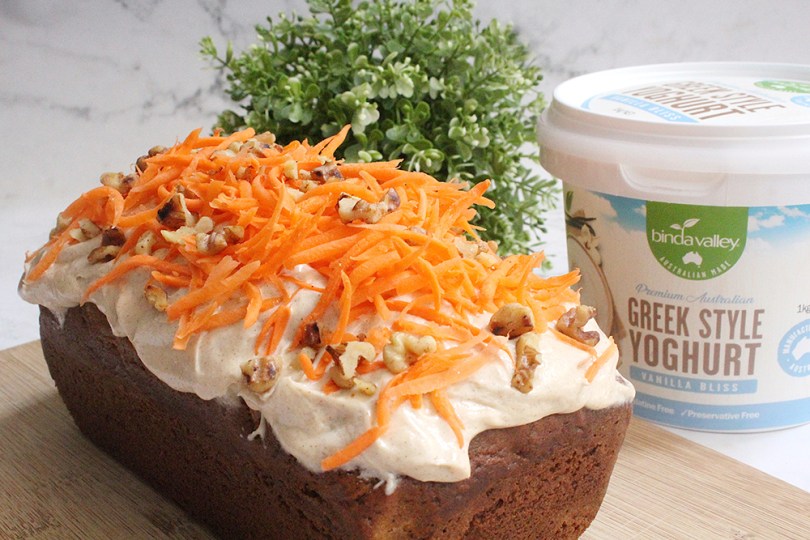
Luckily, because of my oh-so busy schedule, I had this recipe for a Spiced Carrot Cake Loaf with Cinnamon Cream Cheese Frosting that didn’t get posted towards the end of March. Still, it’s perfect for a celebration!

This carrot cake turned carrot cake loaf is dense, yet ultra soft, moist, and flavoured with fall-favourite spices such as cinnamon, ginger, and nutmeg. You can serve it plain, or spruce it up with your choice of nuts, dried fruit, and/or top with some cream cheese frosting. Now if you want to be a little bit extra, all you need is a pinch or two of cinnamon powder to take your frosting to another level. The delicious cinnamon-flavoured cream cheese frosting really heightens each slice of carrot cake loaf!
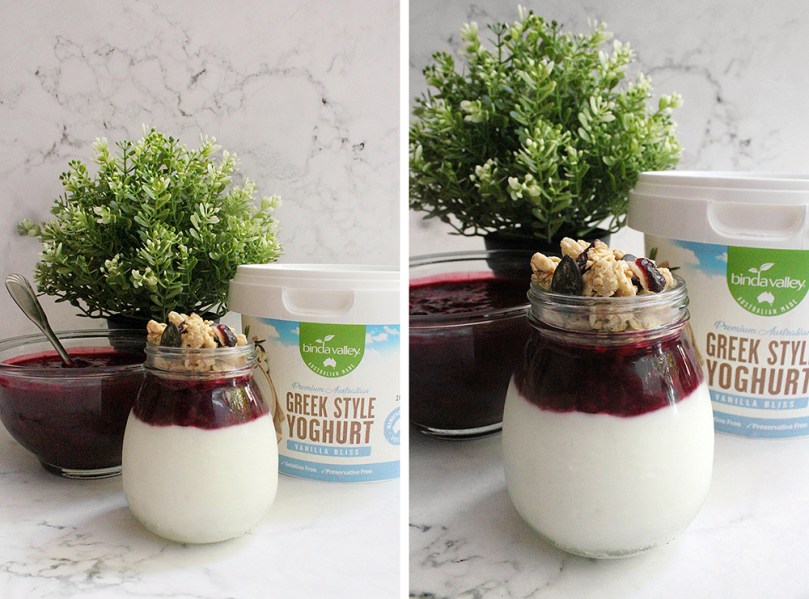
I’ve made this carrot cake loaf three times now, the first time was just because I wanted to bake something that was easy to take to work for a mid-morning or mid-afternoon snack. The second time I baked this loaf was with my boyfriend when he visited for the weekend a few months back. The third time, I was searching for a recipe where I could feature Binda Valley’s Vanilla Bliss Natural Greek Style Yoghurt, which I received courtesy of Gourmet Direct PH a few months back. This is also one of my achievements from last year, to be recognised by a brand and create promotional content for them.
This recipe makes two carrot cake loaves, feel free to double or downsize the recipe, but trust me, you don’t want to be downsizing because one loaf disappears fast! If you can turn a cake into a loaf, you can most definitely turn this loaf into muffins as well!
PREP TIME 15 MINS | COOKING TIME 55 – 65 MINS | MAKES 2 LOAVES
INGREDIENTS
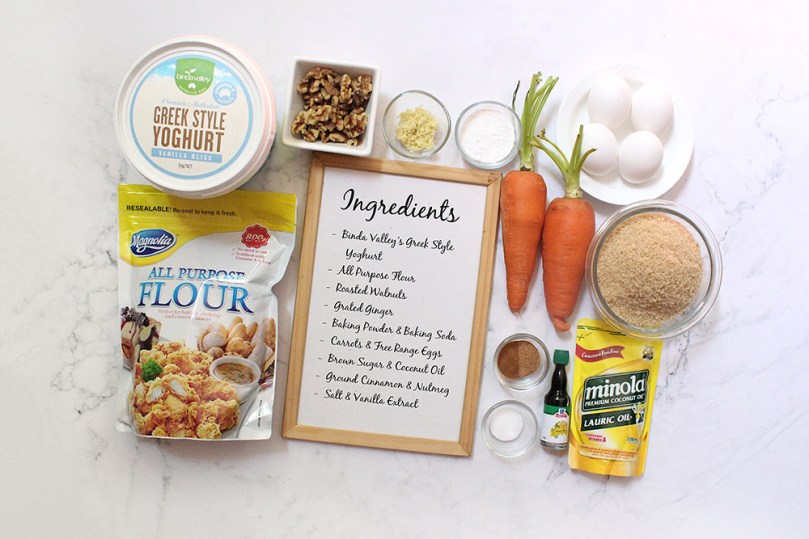
For the carrot cake loaf
Dry ingredients
- 3 cups all-purpose flour
- 2 tsp baking powder
- 2 tsp ground cinnamon
- 1/2 tsp ground nutmeg
- 1 & 1/2 tsp baking soda
- 1/2 tsp salt
- 3/4 cup roasted walnuts, roughly chopped
Wet ingredients
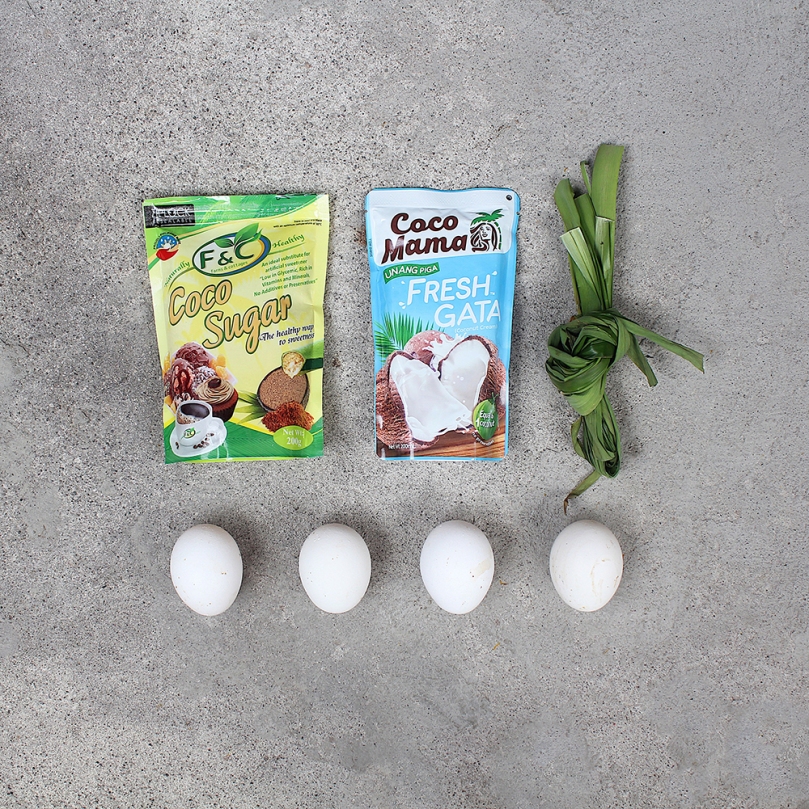
- 5 large carrots, peeled and shredded
- 4 large free range eggs, at room temperature
- 1 cup coconut oil
- 1 & 3/4 cup brown sugar
- 2/3 cup Binda Valley’s Vanilla Bliss Natural Greek Style Yoghurt
- 2 tsp vanilla extract
- 1 tsp grated fresh ginger

For the cinnamon cream cheese frosting
- 1 block (225g) cream cheese, softened
- 2 tbsp unsalted butter, softened
- 1 cup confectioners’ sugar
- 1/2 tsp vanilla extract
- 1/4 tsp ground cinnamon
- Pinch of salt
METHOD
- Preheat oven to 180C (350F or gas mark 4) and line two 9×5-inch loaf pans with parchment paper.
- Carrot Loaf: Whisk all the dry ingredients, except for the walnuts, together in a large mixing bowl until well combined. Set aside.
- In a medium-sized mixing bowl, whisk all the wet ingredients together until well combined.
- Pour the wet ingredients into the dry ingredients and gently whisk together until just combined. The batter should be semi-thick in consistency. Fold the chopped walnuts into the batter.
- Equally divide the batter between the prepared loaf pans and bake for 55 to 65 minutes, or until a toothpick inserted into the center of the cake comes out clean as baking times may vary.
- Remove from the oven once done and leave it to cool completely in its pan on a wire rack.
- Cinnamon Cream Cheese Frosting: Using a handheld (or stand) mixer, beat the cream cheese in a medium-sized bowl on medium-high speed until smooth and creamy.
- Beat in the butter, and then followed by the confectioners’ sugar, vanilla extract, cinnamon, and a pinch of salt over low speed until smooth and creamy. Taste and adjust to your liking.
- Once the carrot cake loaf has cooled, frost with the cinnamon cream cheese and top with roasted walnuts and shredded carrots.
- Slice, serve, and enjoy!

Storage tip: Store your carrot cake loaf without the frosting! Cover and store leftover loaf/slices at room temperature for up to 3-4 days or in the refrigerator for up to about 10 days. Store the frosting separately in the refrigerator for up to a week.
Before I end tonight’s post, I just want to say a special thank you to my Mom. She was the one who patiently taught me how to cook my favourite dishes when I was growing up. She was my #1 supporter. Thank you Mama for passing down your knowledge and love for food on to me. I know you’re proudly watching from above. I love you.

BON APPÉTIT
– Ally xx
Follow me on my social media accounts:
Facebook: Amcarmen’s Kitchen
Instagram: @amcarmenskitchen
TikTok: @amcarmenskitchen