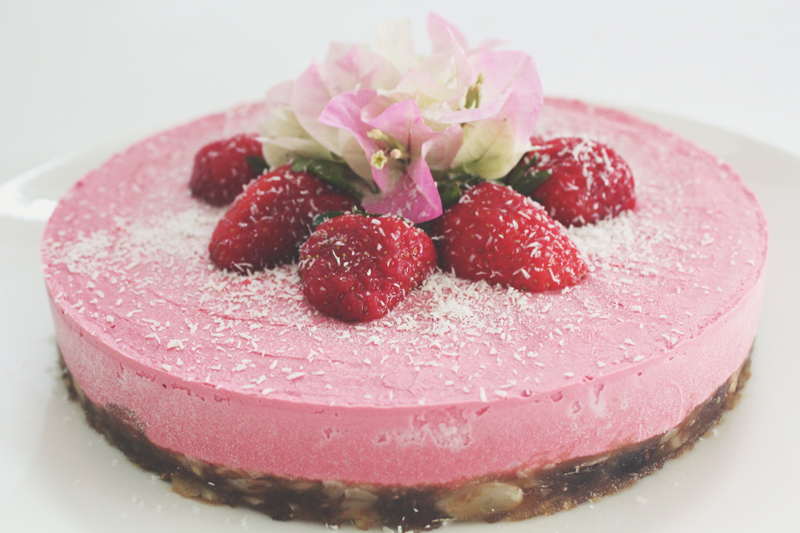
Hello Everyone! Yes I am aware that it is indeed Tuesday and not a Wednesday – but today is a special day which indefinitely deserves a special post too! Today is the middle child’s 22nd Birthday, and since last year (which was the year I came back to Brunei) I’ve been baking cakes for the family. It was the better solution to, I guess, wanting a specific flavour for an affordable price. I cannot stress enough house much I hate store bought cakes – mainly because of their icing; too thick, too sweet, just… Ugh. I’m not much of a baker since I’m more into savoury foods, but I guess baking a cake 4 times a year (at minimum) isn’t too stressful and helps me practice.

Happy 22nd Birthday Angela! – early dinner at Balkony today after work. The cake not only looked amazing, but it tasted so good as well! I will definitely try out more no bake vegan ‘cheesecakes’ in the upcoming months – maybe for my Birthday in November!
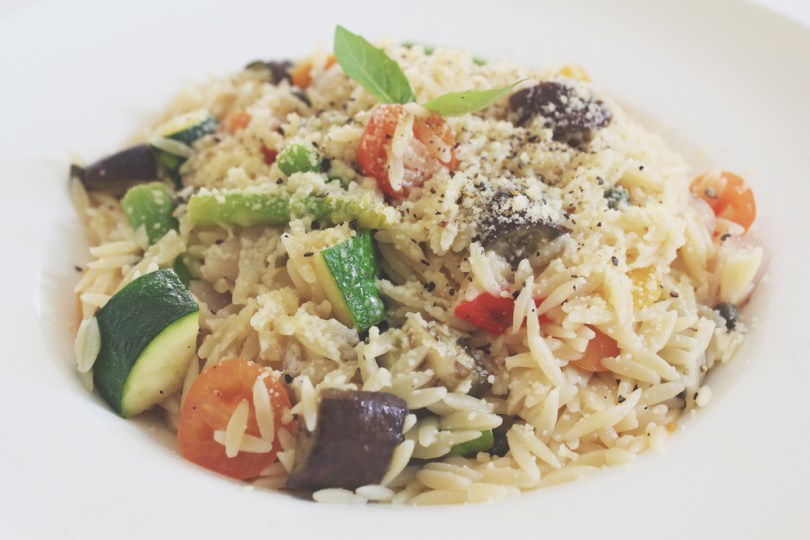
Today’s recipe shall keep in theme with the theme for this month on Amcarmen’s Kitchen, which is, if you haven’t been following, Yes Ve Gan! A month of tribute to animal-free dishes that are sure to tickle your tummies from a different perspective. Before I had the idea of coming up with an animal-free theme for the blog, I wanted to bake a strawberry shortcake for my sister. I then only just changed my mind earlier last week to do a No Bake Strawberry & Coconut ‘Cheesecake’ for her after being inspired and reminded of the cake that Miao made back in March when we gathered for a dinner and catch up session with friends in Singapore. I think I mentioned in the beginning of the month in a post that it was a pretty darn delicious cake and it made me crave for more! So I thought to myself, why do I give a raw vegan cake a try since, like Miao at that time, I have never done one before! It’s super easy to make and you can substitute the strawberries out for your favourites berries such as raspberries, blueberries, blackberries, or boysenberries.
This ‘cheesecake’ is completely gluten-free, dairy-free, and egg-free! The recipe makes for one 8″ sized cake, but of course you can always double the recipe to make a bigger one if you wish! Mind you, for those who have not read in an earlier post this month, I haven’t stopped eating animals, dairy, or eggs altogether. I still eat my meat, but not as often as I used to, and I still have my daily dose of cow’s milk in the mornings to accompany my breakfast. I don’t see myself going completely vegan in the next couple of years – but who knows, that may change over time when I make that shift to loving all animals, and most importantly for a healthier lifestyle. For now, it is something that I want to look into and slowly add this way of eating into my daily diet.

PREP TIME 25 MINS | FREEZE TIME min. 4 HOURS* | SERVES 8-10
*preferably overnight to ensure that the cake is set.
INGREDIENTS
For the crust
- 250g medjool dates, pitted
- 3/4 cup sliced almonds
- Pinch of salt
For the filling
- 1 cup raw cashews, soaked overnight* and drained
- 1 punnet (25g) fresh or frozen (but thawed) strawberries
- 2/3 cup full fat coconut milk
- 4 tbsp coconut oil, liquified
- 2 & 1/2 tbsp lemon juice
- 2 tbsp maple syrup
- Zest of 1 small lemon
For the topping
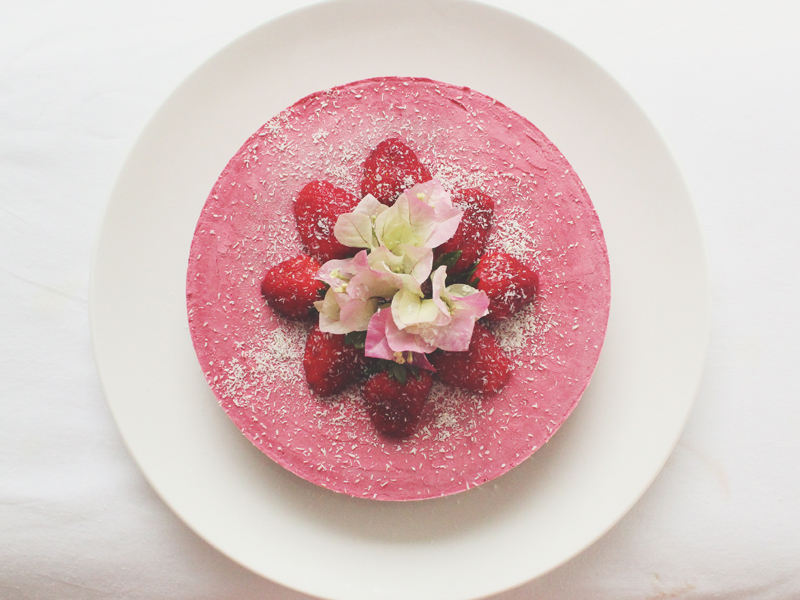
- Fresh strawberries
- Shredded coconut
- Edible flowers (optional)
*if you are a bit pressed for time, or decided to make your cake today and hadn’t realised that you needed to soak your cashews overnight, then you can soak them in very hot water for about an hour instead of overnight.
METHOD
- Crust: Soak the pitted medjool dates in warm water for about 15-20 minutes and then drain. Put almonds in a food processor and pulse until finely chopped. Add the dates and a pinch of salt, and pulse until a paste forms.
- Press mixture into an 8-inch springform pan (if you don’t have a springform pan, use a pie tin or a regular cake pan covered with baking paper). Place the crusted pan in the freezer while you prepare the filling.
- Filling: Put all ingredients for the filling in a blender and blend on low until mixture is as smooth as possible. Pour the filling into the crust, cover with plastic wrap and freeze for at least 4 hours.
- Remove the cake from the pan and leave to thaw in room temperature for about 10-15 minutes before cutting. Top with fresh strawberries, shredded coconut, and edible flowers.
Tip: Run your knife under warm water (and dry off) before cutting, to make a cleaner cut. Let each piece thaw for a few more minutes before serving.


BON APPÉTIT
– Ally xx