Hello Everyone! To kick off the week, we have something that might not fit people’s fancy. Yes, you read the title right, ANCHOVIES. I know a lot of people hate anchovies, in fact I heard from my manager while she was doing research for her client that there is even a ‘National Pizza with Everything (except Anchovies) Day’ which falls on the 12th of November. Both my manager and I found this ridiculous because we both love us some anchovies. If you too are part of the haters club, then just substitute the anchovies in this recipe for something else.

The links to the pizza dough and white-based pizza sauce is linked below in the ingredients list. Now, if you’re like me and don’t have a peel (a shovel-like tool used by bakers to slide loaves of bread, pizzas, and other baked goods into and out of an oven), then make sure that you roll out your pizza dough onto baking paper to ease in transferring the pizza onto the pizza stone.


PREP TIME 10 MINS | COOKING TIME 10-15 MINS | SERVES 3-4
INGREDIENTS
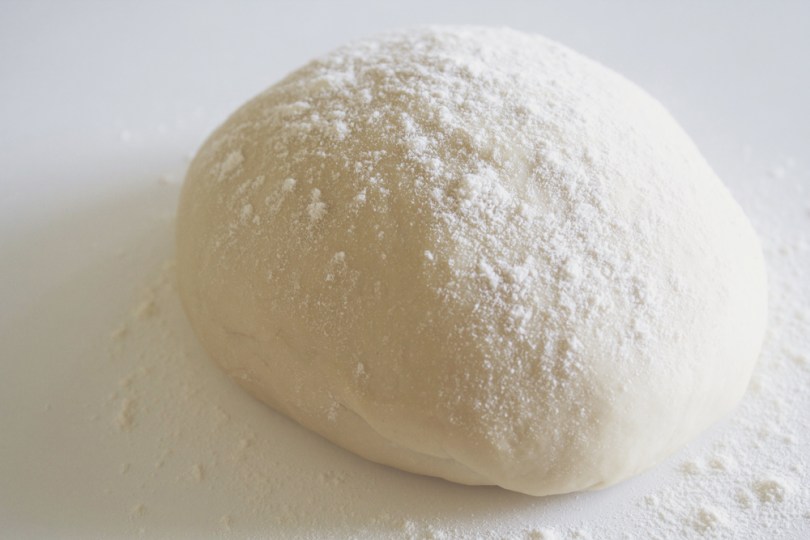
- Classic New York Style Pizza Dough Recipe
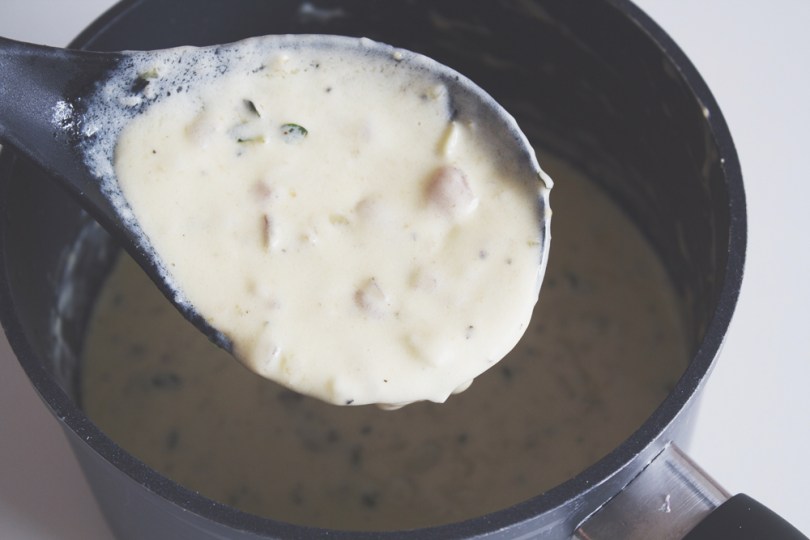
- White Pizza Sauce Recipe
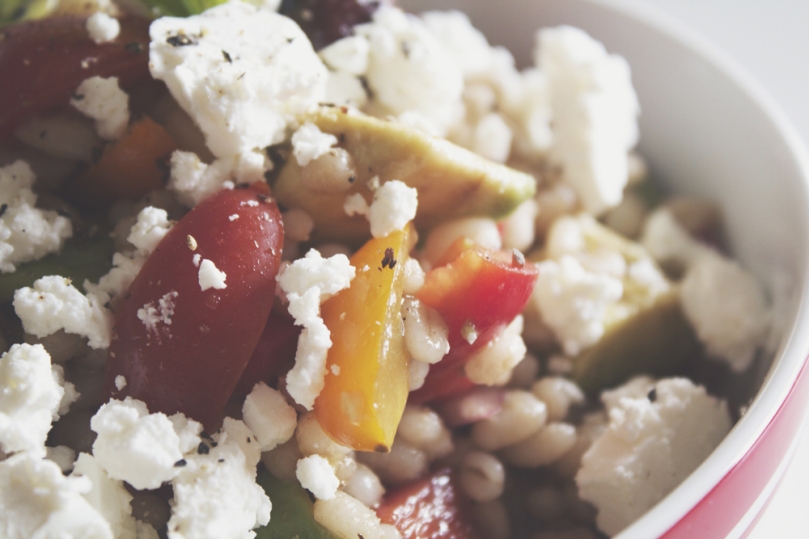
- 1/2 punnet (125g) cherry tomato medley, halved
- 125g marinated mediterranean bocconcini
- 100g pitted kalamata olives
- 8-10 anchovy fillet
- 2 tsp baby capers
- 1 tsp dried chilli flakes (or fresh chillies if available)
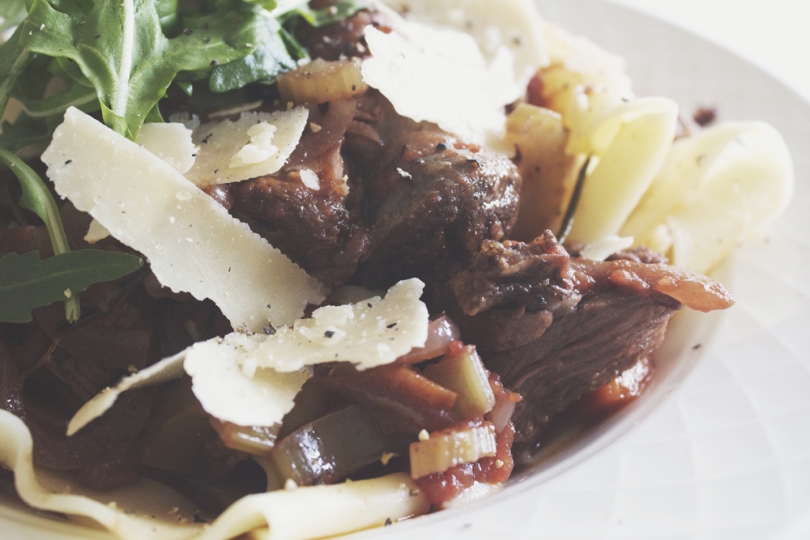
- Handful of rocket leaves
- Mozzarella cheese
METHOD
- Preheat oven to 220C. Place your pizza stone in the oven as well to heat it up.
- Roll out your dough to a circle the same size as your pizza stone on a lightly floured surface as thick or thin as you want.
- Brush around the edge with a little water, then create a wall of the mozzarella cheese all the way around. Fold the edge over the mozzarella wall and seal it in by pressing down on the damp dough to form a stuffed crust.
- Spread a thin layer of sauce onto the dough. Be very careful not to overdo the sauce; if you use too much sauce, it’ll be too rich and also will bubble over the pizza and burn. A quarter cup to a third is just about right per pizza.
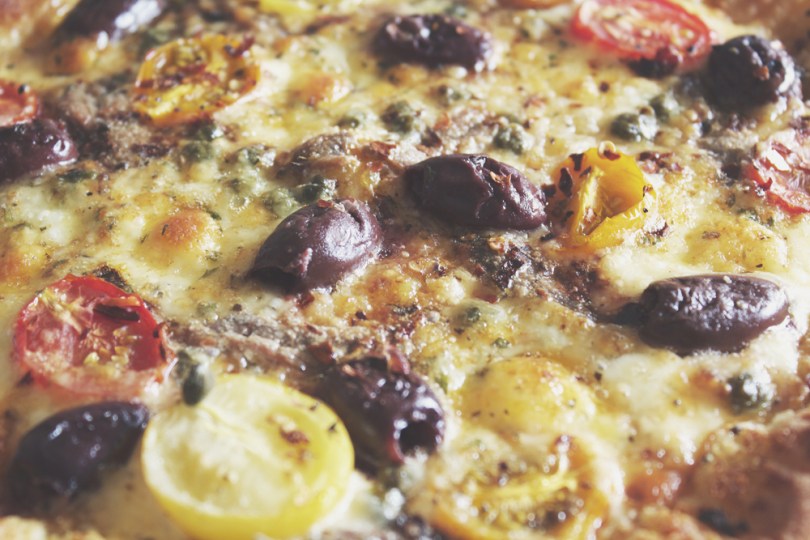
- Top the pizza with anchovies, bocconcini, capers, cherry tomatoes, chilli flakes, and olives. If these aren’t quite to your fancy, then get creative and top your pizza with your favourite toppings.
- Carefully remove the stone from the oven and quickly slide the pizza over the top of the stone. Place it back in the oven and bake for about 8-10 minutes or until cooked all the way through. It should not take more than 15 minutes in total.
- Remove from the oven and top with fresh rocket leaves before serving.


BON APPÉTIT
– Ally xx