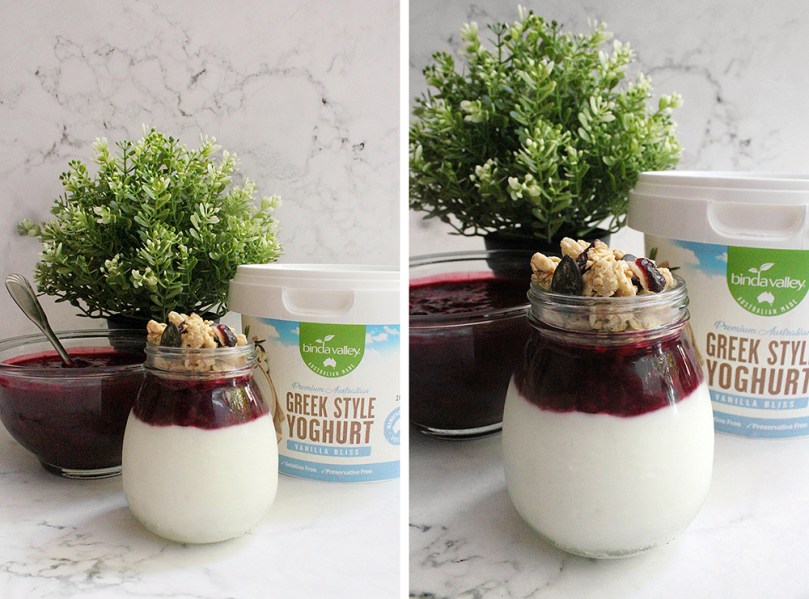
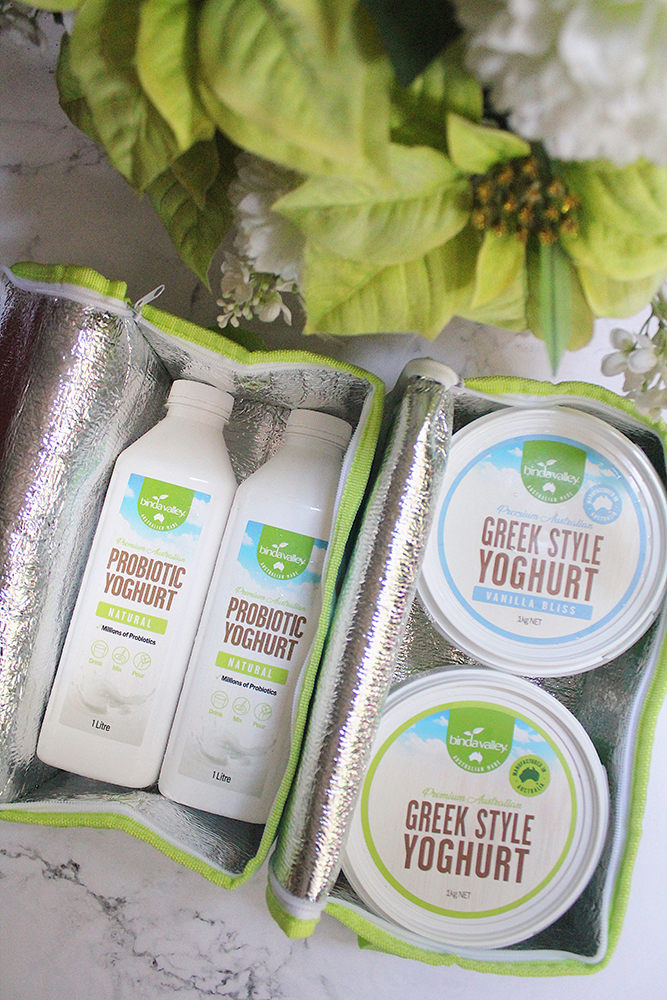
Hello Everyone! Yesterday I shared a recipe for a simple mixed berry compote, and tonight I’ll show you how you can use it in a sweet breakfast dish (or even for dessert), featuring Binda Valley’s Vanilla Bliss Natural Greek Style Yoghurt, courtesy of Gourmet Direct PH!

These French Toast Wraps are a creative cross between traditional French toast and crêpes. They are made by dipping wholewheat wraps in a mixture of egg, soy milk, cinnamon, nutmeg, and vanilla extract. Make sure that you dip the wraps in the egg mixture rather than soak. You can let them soak for 30 seconds or so, but it will make the wraps a touch more fragile to handle. They are then fried in butter on both sides until golden brown. For my recipe, I fried them in coconut oil as I realised I didn’t have any butter left in my fridge.
The result is a deliciously mouth-watering, crêpe-like wrap without the hassle of actually making crêpes from scratch. Fill the wraps with your yoghurt of choice, sweetened or unsweetened, and you can also mix up your choice of fruits and granola, and even use herbs such as basil or mint. You can even go for savoury French Toast Wraps if you want with this recipe!

PREP TIME 10 MINS | COOKING TIME 10 MINS | SERVES 3
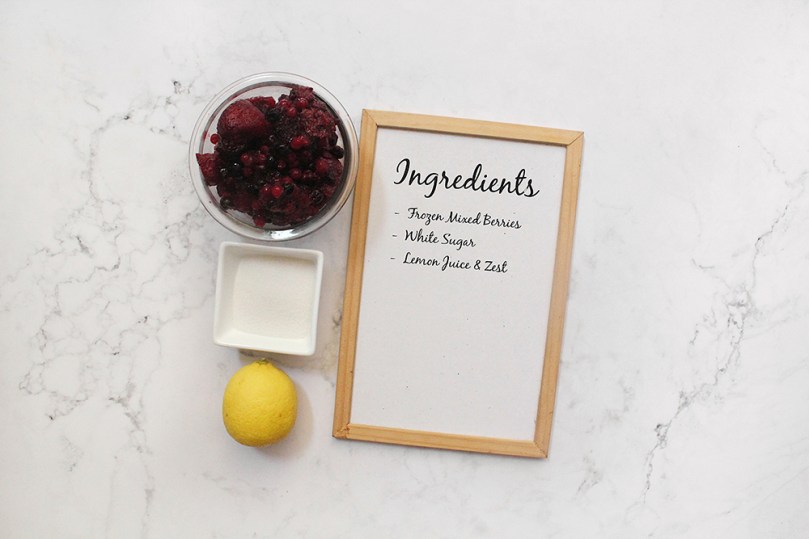
INGREDIENTS
For the French toast wraps
- 6 wholewheat tortilla wraps
- 1/2 cup soy milk
- 1 large free range egg
- 1 tsp vanilla extract
- 1/2 tsp ground cinnamon
- 1/4 tsp ground nutmeg
- 3/4 cup Binda Valley’s Vanilla Bliss Natural Greek Style Yoghurt
- 1 tbsp lemon juice
- 1/2 tbsp honey
- 1/3 cup mixed berry compote
- 3 large bananas, peeled and sliced
- Granola (with dried cranberries and pumpkin seeds)
- Confectioners’ sugar (optional)
- Coconut oil, for cooking
METHOD
- In a shallow bowl, add the soy milk, egg, vanilla extract, cinnamon, and nutmeg together. Whisk until well combined. Dip both sides of each tortilla in the egg mixture.
- Add the coconut oil to a pan over medium-high heat. Add the dipped tortilla to the pan and cook until golden brown, about 1 to 2 minutes on each side. Once done, transfer to a plate and repeat with the other tortillas.
- In a small bowl, mix the yoghurt, lemon juice, and honey together until well combined. Spoon the yoghurt mixture down the centre of each tortilla and top with the sliced bananas.
- Fold the sides of the tortilla over the top of the yoghurt and bananas, and top with the warmed mixed berry compote. Top with more sliced bananas, granola, and sprinkle with confectioners’ sugar (optional). Serve and enjoy immediately!


BON APPÉTIT
– Ally xx
Follow me on my social media accounts:
Facebook: Amcarmen’s Kitchen
Instagram: @amcarmenskitchen
TikTok: @amcarmenskitchen