Hello Everyone! Before I begin, I would like to dedicate this post to my little sister April who would’ve been 17 years old today. She unfortunately showed no signs of life when she was born.


Today, I am finally ending this short pizza series on a high with this pizza recipe from SORTED Food. I’ve been wanting to give this recipe a go for a very long time and I’m glad that I’ve managed to cross this off my list of things to make, and will continue to make over and over again. So, during the process of making this dessert pizza, there is one step where you have to place the pizza in the oven with the Nutella spread and hazelnuts to bake before adding the berries on top. When I took the pizza out to do this, I saw that the Nutella started caramelising. I stupidly, without thinking, put my finger in the Nutella spread because I wanted to know whether it has hardened… And I burnt my finger. My first reaction (of course) was to quickly put it in my mouth… And thus I also burnt my tongue. Well done Allison. Well done indeed. Other than this little stupidity of mine, the pizza was a success. The flavours were on point and that mascarpone cheese to top it off was pretty amazing.

Of course you may use other berries as well, those that are in season wherever you are in the world. Fresh or frozen, it doesn’t matter. I really wanted to try it with boysenberries since I absolutely LOVE them. I saw punnets of them on the shelves at Coles a few times during December-January time. But by the time I came around to making this pizza, the berries were off the shelf and they didn’t even have any frozen ones *sob*.

PREP TIME 15 MINS | COOKING TIME 8-10 MINS | SERVES 4-5
INGREDIENTS
- Classic New York Style Pizza Dough Recipe
- 1 punnet (125g) blackberries
- 1 punnet (125g) blueberries
- 1 punnet (125g) raspberries
- 1 punnet (125g) strawberries, sliced
- Fresh mint leaves
- Roasted hazelnuts
- Mascarpone Cheese
- Nutella
METHOD
- Preheat oven to 220C. Place your pizza stone in the oven as well to heat it up.
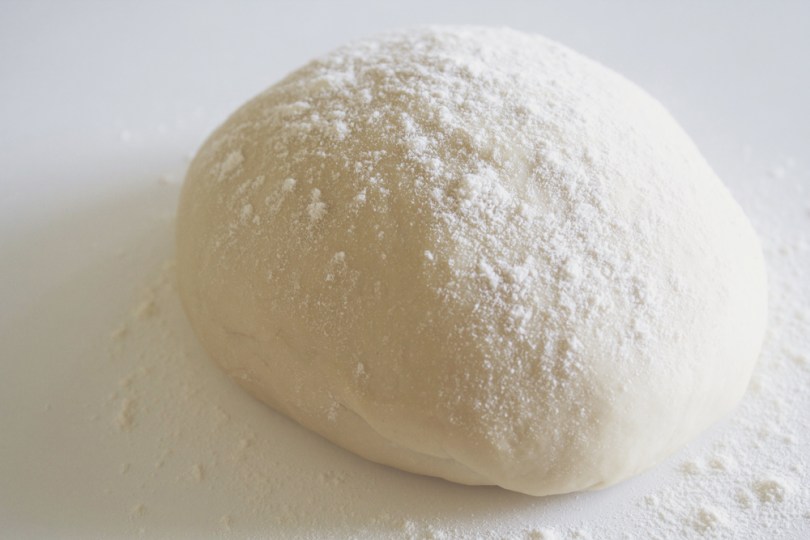
- Roll out your dough to a circle the same size as your pizza stone on a lightly floured surface as thick or thin as you want.
- Brush around the edge with a little water, then create a wall of raspberries all the way around. Fold the edge over the raspberry wall and seal it in by pressing down on the damp dough to form a stuffed crust.
- Spread a thin (or if you are that type, a generous) layer of Nutella onto the dough and top with the roasted hazelnuts (place them in to oven for about 5-6 minutes if your hazelnuts are raw). Don’t forget to lick your spoon, or whatever utensil that you used to spread the Nutella with, clean!
- Carefully remove the stone from the oven and quickly slide the pizza over the top of the stone. Place it back in the oven and bake for about 3 minutes. Remove from the oven and top the pizza with the berries and bake in the oven for a further 3-4 minutes or until cooked all the way through. It should not take more than 10 minutes in total.
- Remove from the oven and top with mascarpone cheese and fresh mint leaves.


BON APPÉTIT
– Ally xx