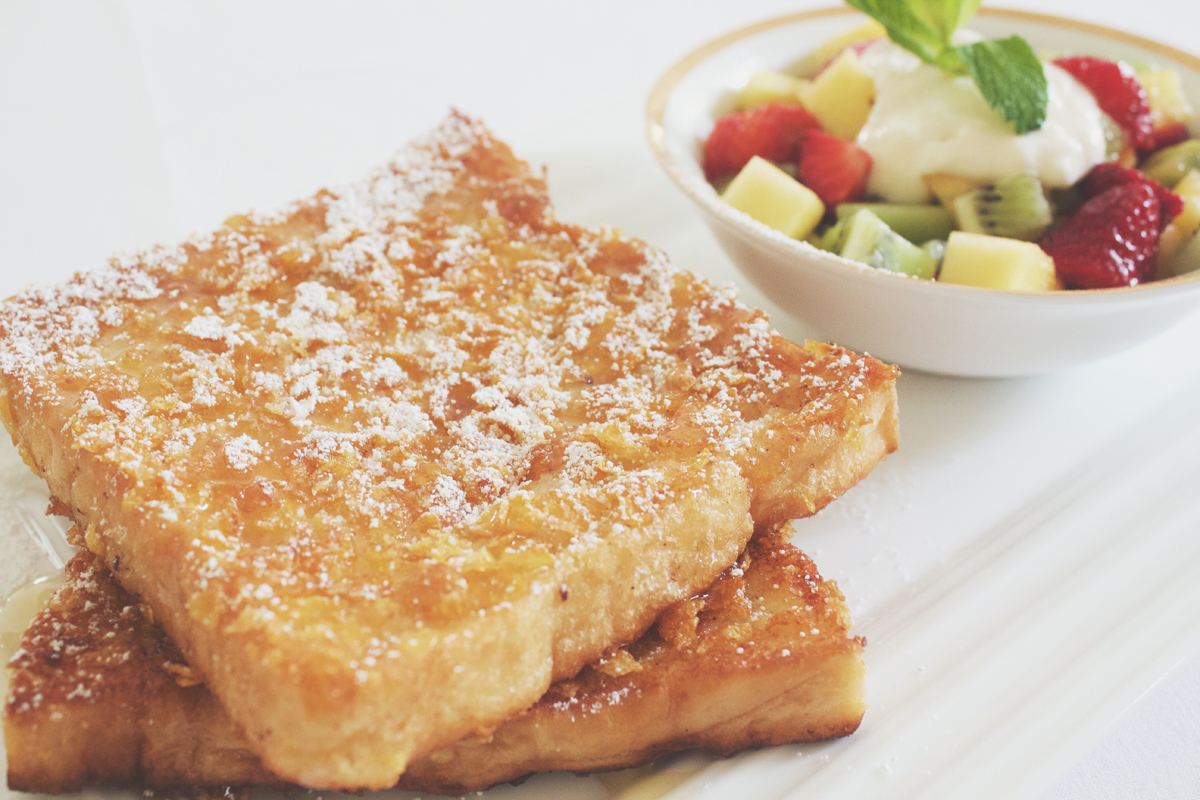
Hello Everyone! I’ve got another french toast recipe with a twist for you again today, but this time there will be no added milo to it. Instead we’re gonna crust our classic french toast with some cornflakes to give it that extra added crunch to an already soggy bread. I came across this idea a couple of months ago back in July when Symmetry Breakfast went viral. They posted a photo of some cornflake-crusted french toast and when I planned for Breakfast/Brunch Month for October, I knew I had to tackle a recipe for that!
I absolutely love their work! If you have been following my Instagram during that month, you would’ve seen that Jialing and I (and Edison) hopped on the #symmetrybreakfast bandwagon for the last remaining week that I was in Sydney. Actually, I might just share the photographs here since I don’t know if I will be posting them on the blog anytime other than now I guess (click on the individual images to view a larger version of them):
 |
 |
 |
 |
 |
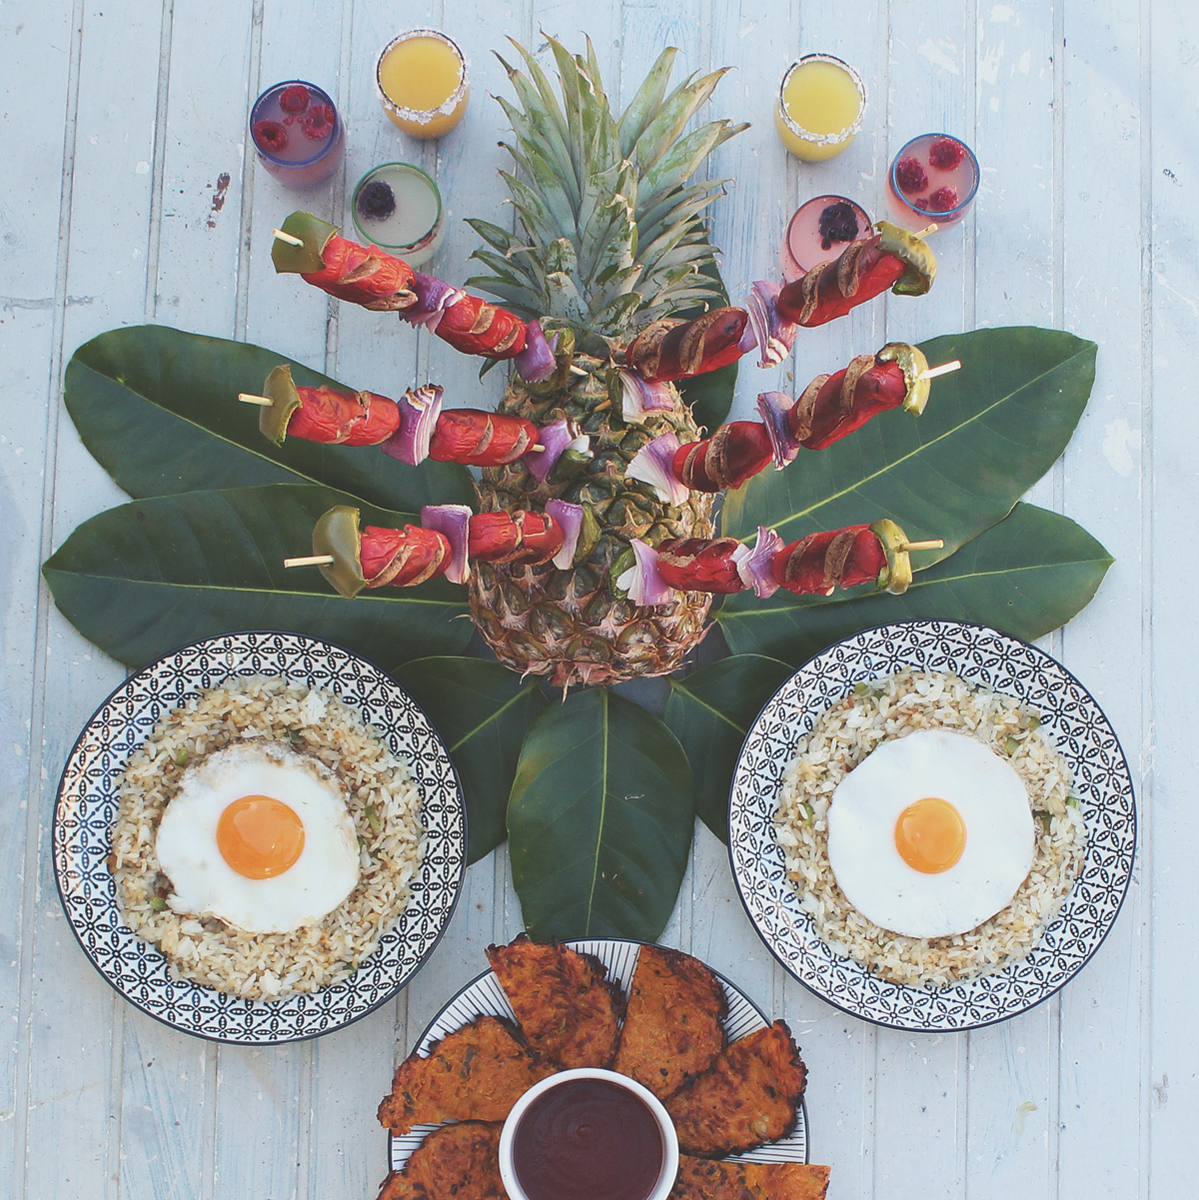 |
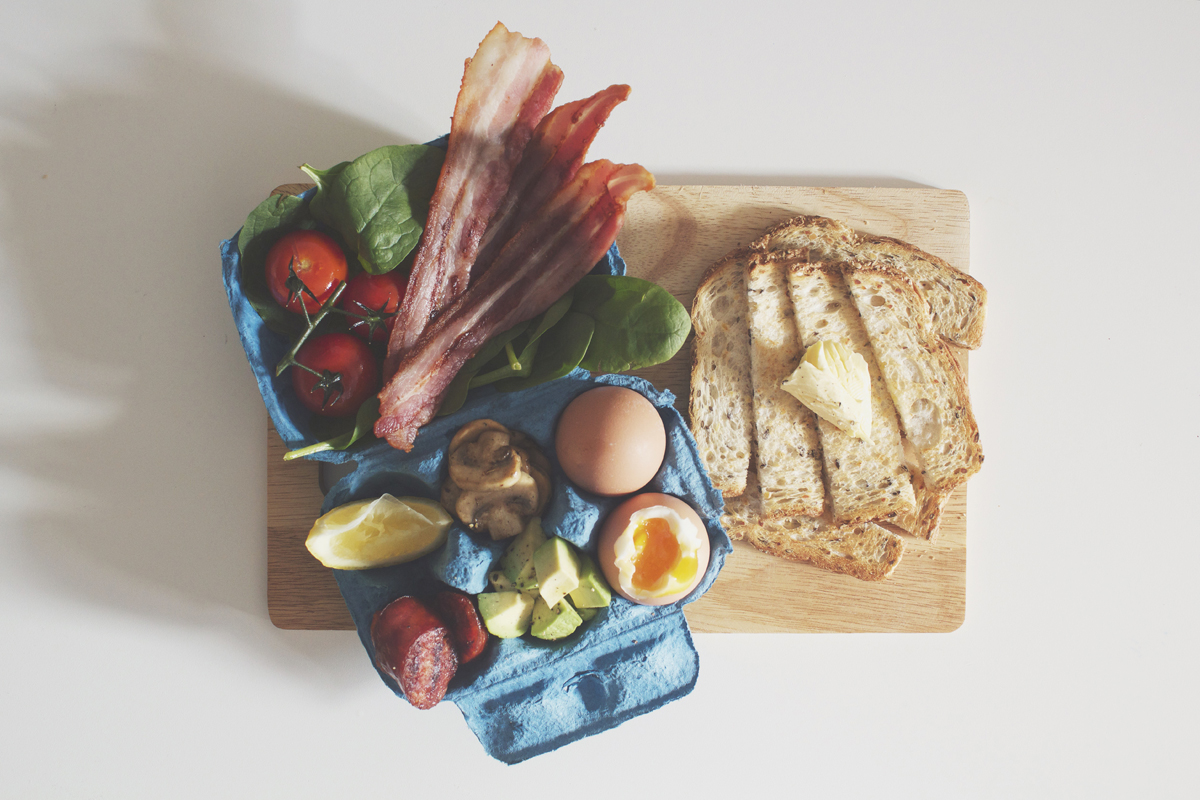
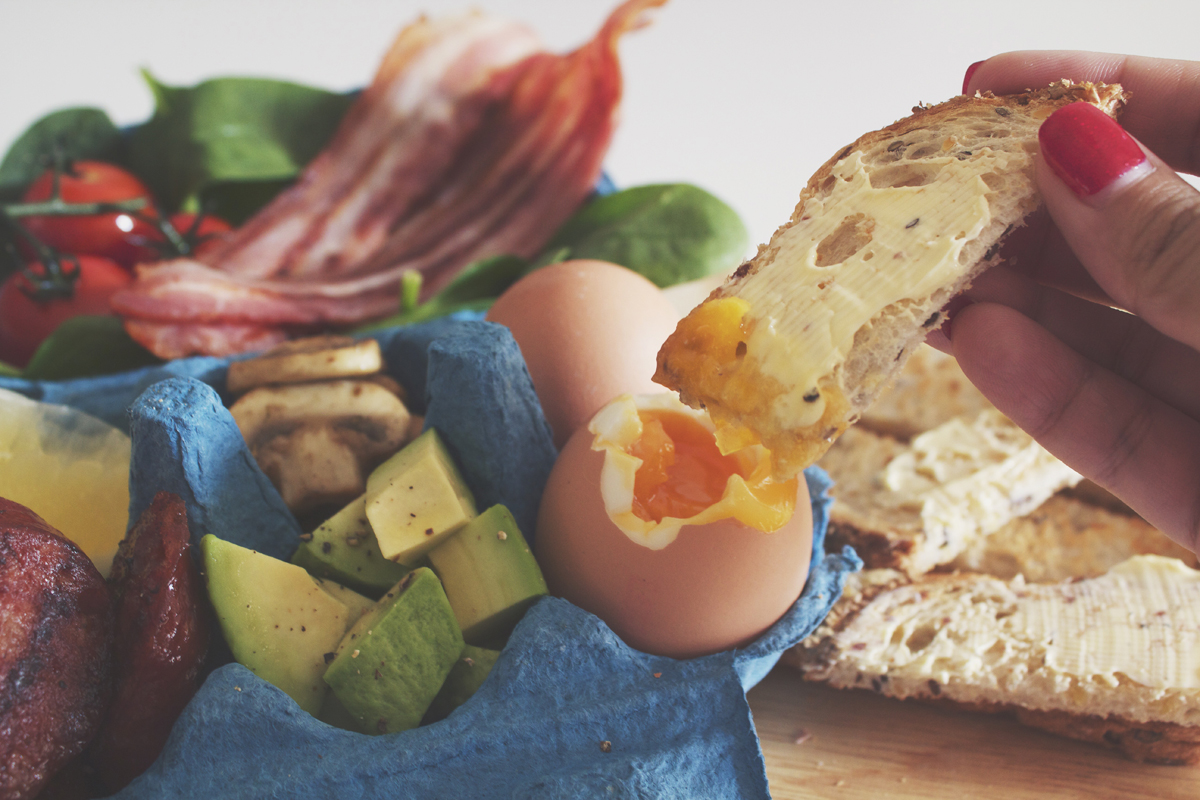
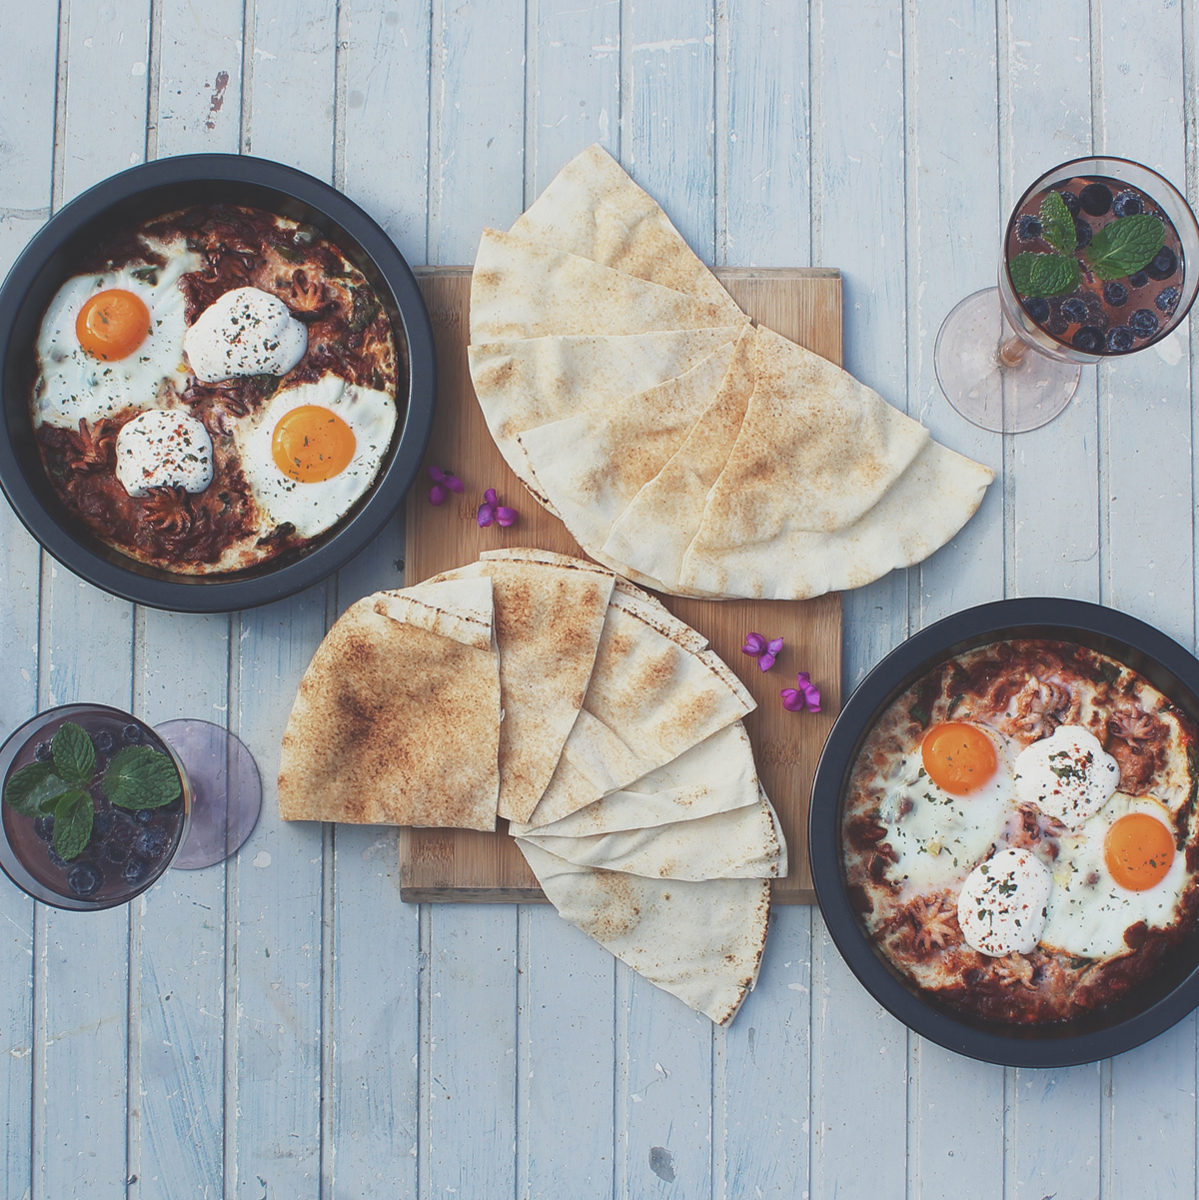
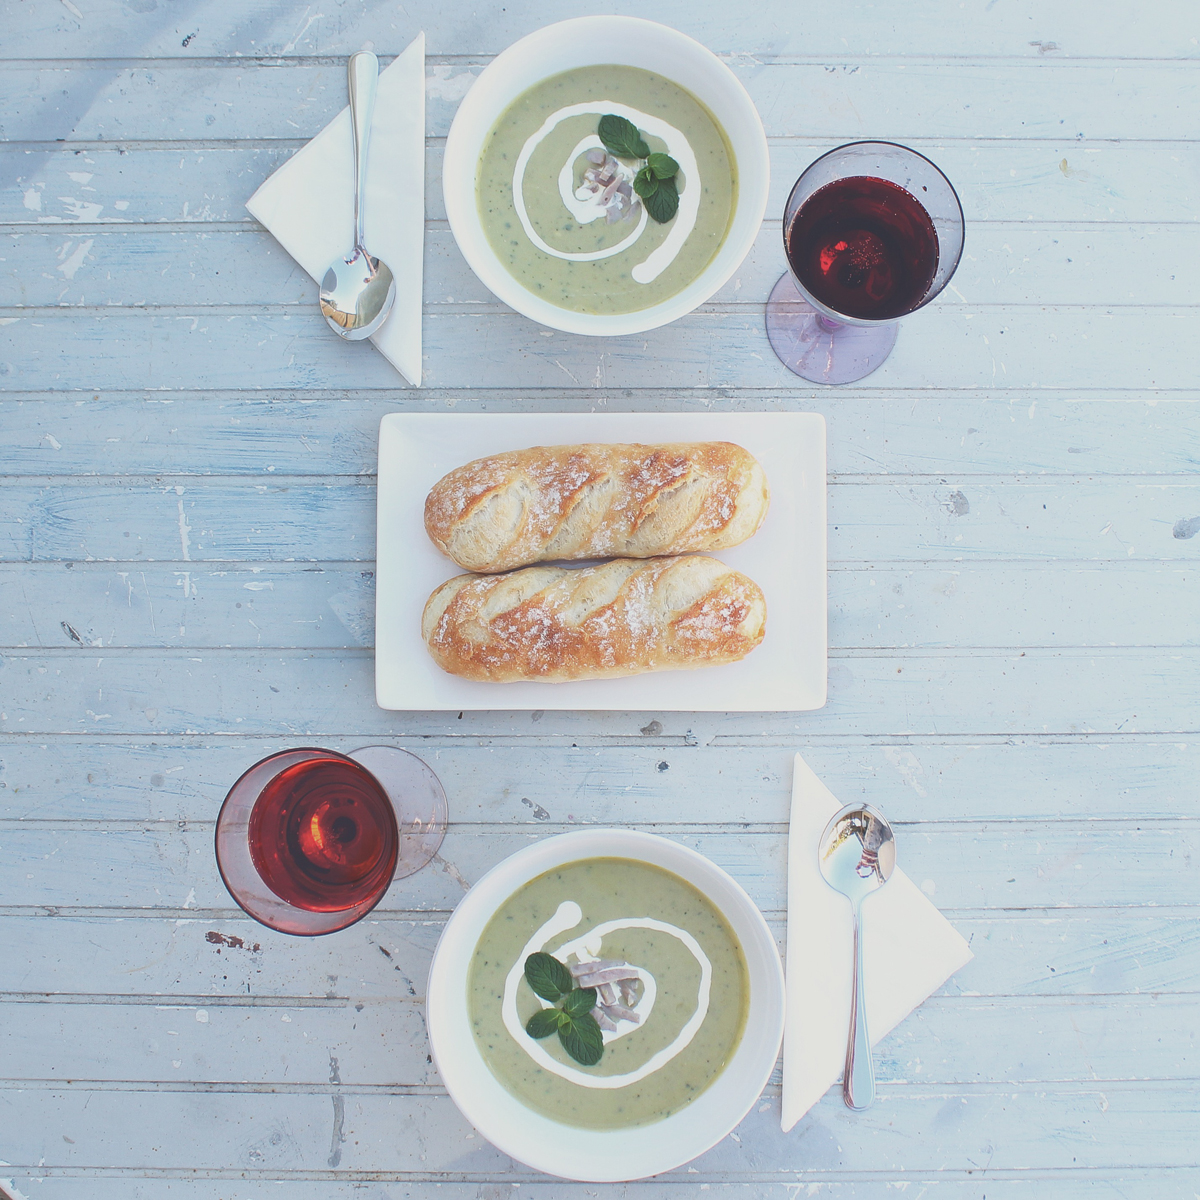
L-R: Homemade Charred Eggplant & Baby Octopus Shakshuka with Lebanese Bread; Blueberry & Passionfruit Cider | French Crêpes with a Honeyed Citrus Creamcheese Filling topped with a Mixed Berry Compte; Orange Sunrise Cocktail | Pea and Ham Soup with Stone-baked Pane di Casa and Strawberry & Lime Cider | Potato Hash Crusted Breakfast Quiche with Caramelised Onion, Chorizo, Spinach, and Sunnyside Up Egg with Mixed Leaf Salad and Garlic Butter Bread | Beer, Bacon, and Tater Soup (aka “Man Soup”) with Pane di Casa; Russian Earl Grey Tea | Fancy Filipino Hotsilog Brekky with Sweet Potato Hash Browns and Brekky Mocktails
I know, they’re not quite as symmetrical as the guys from Symmetry Breakfast (we tried to be creative with our symmetry/asymmetry lines), but it still gained a lot of views, likes (especially from Symmetry Breakfast), and new followers! Anyway, yes I realise that I have gone on a bit of a tangent, but I’m pretty sure you enjoyed those photographs (for those who have not seen them that is). So let’s get down to business shall we and get a move on to today’s recipe:
PREP TIME <5 MINS | COOKING TIME 8-12 MINS | SERVES 2-4*
*Depending if you want one or two slices of french toast per person; recipe is for 4 slices of bread
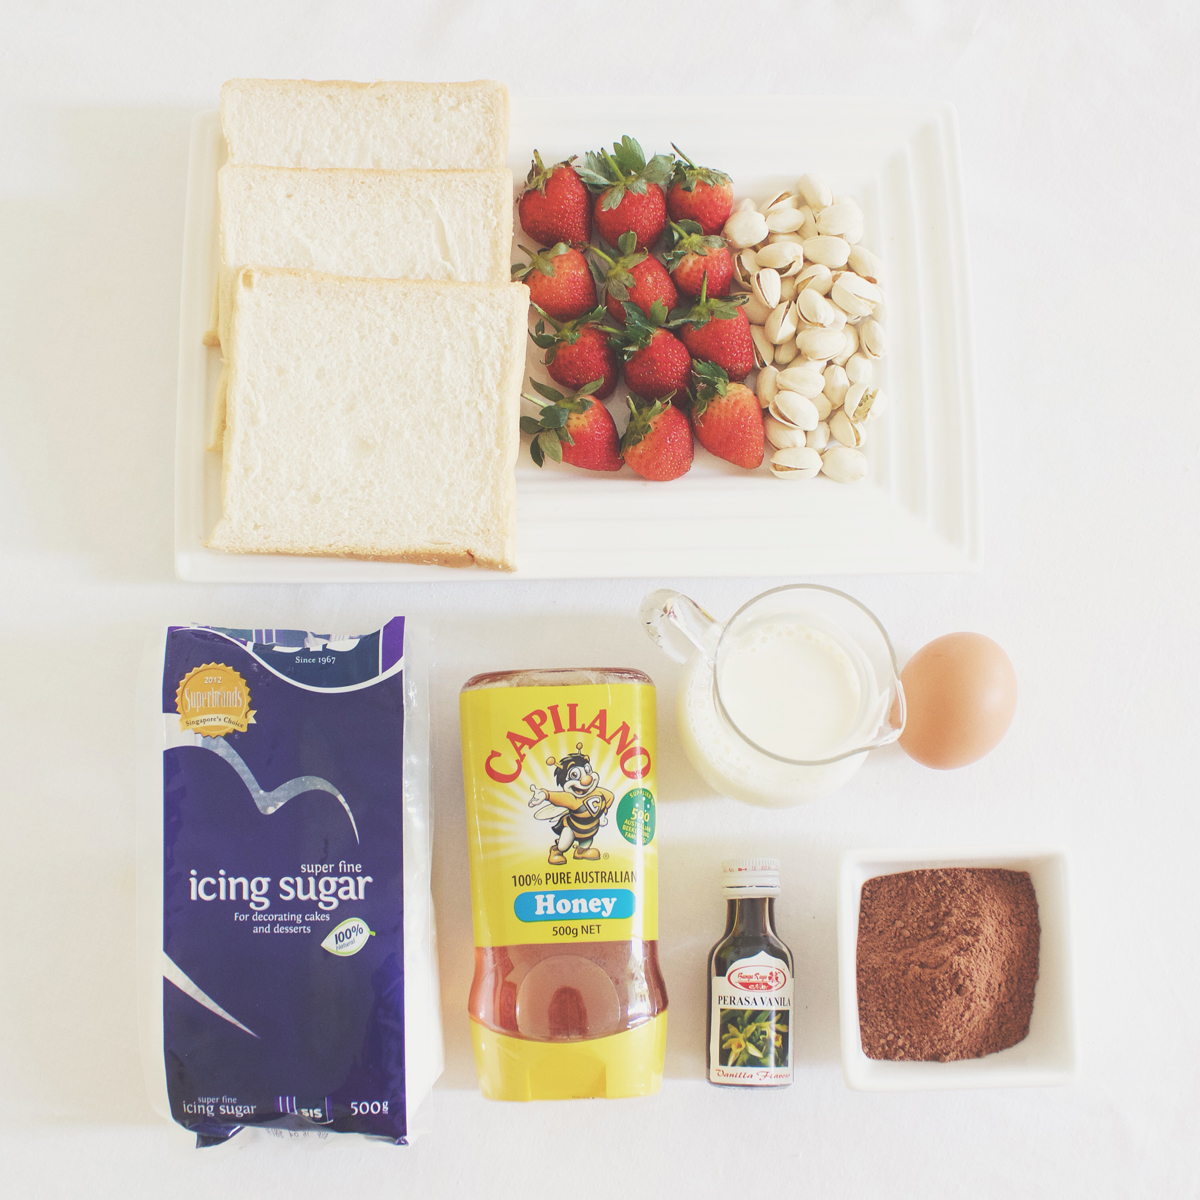
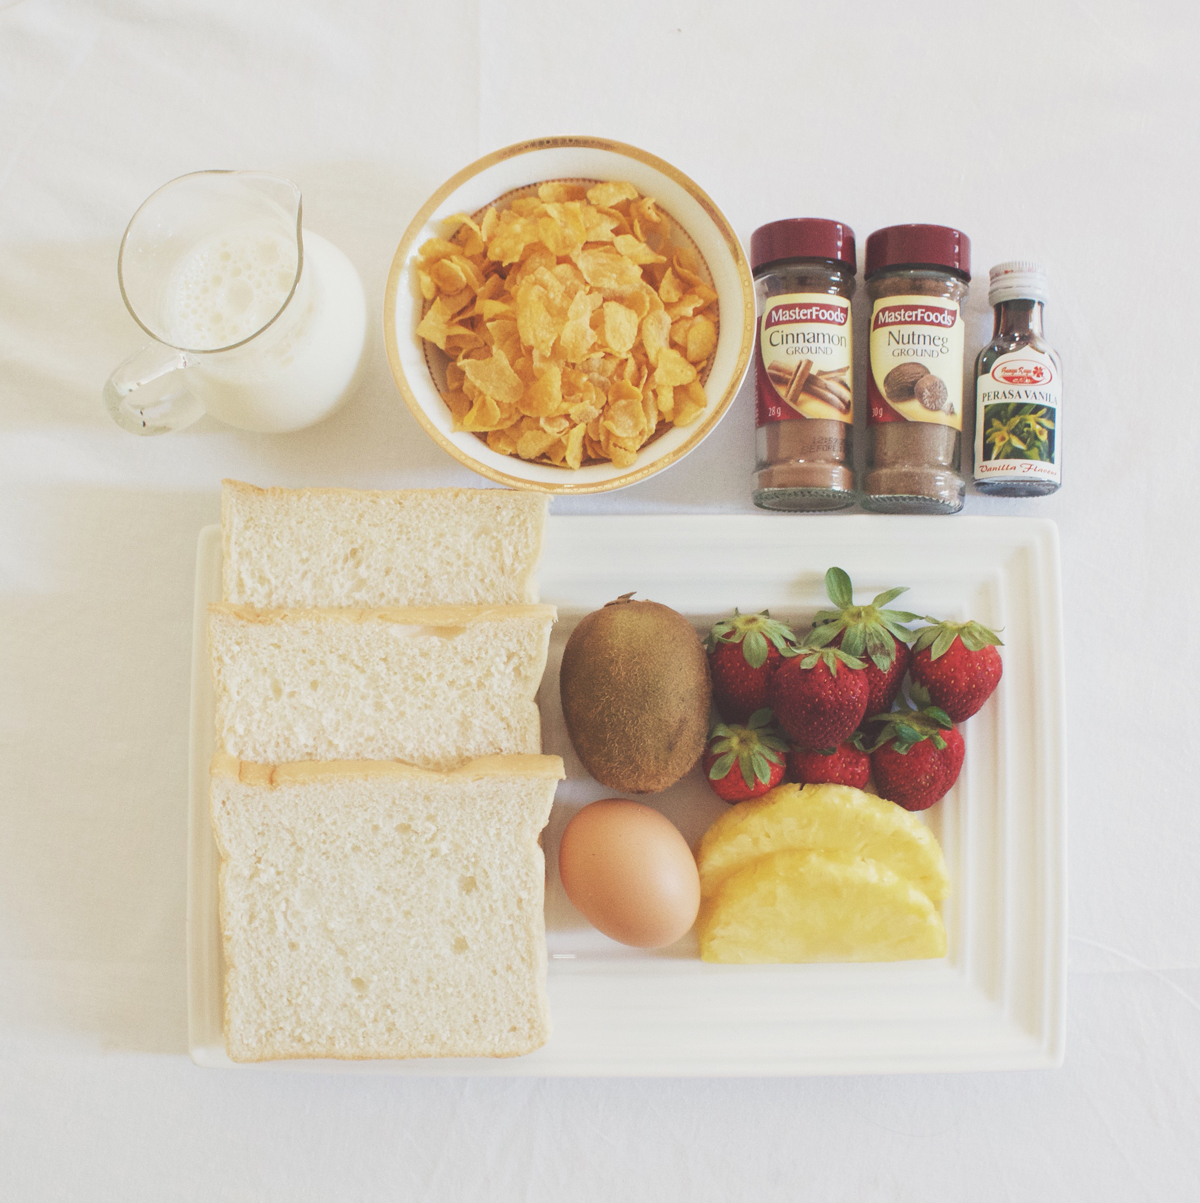
INGREDIENTS
- 1 & 1/2 cups of cornflakes, crushed
- 4 thick slices of bread
- 1/2 cup milk
- 1 large free range egg
- 1 tbsp white sugar
- 1/2 tbsp vanilla extract
- 1/4 tsp cinnamon
- 1/8 tsp ground nutmeg
Optional:
- Green Kiwi
- Pineapple
- Strawberries
- Honey
- Powdered sugar
- Vanilla yoghurt
METHOD
- Whisk the eggs together with the milk, sugar, spices, and vanilla extract in a bowl.
- Dip both sides of a bread slice to soak up the wet mixture; do not soak it for too long. The dip the soaked sliced bread into the cornflake crumbs and coat.
- Place the bread slice into the frying pan and cook until done, 2-3 minutes per side.
- Once done, transfer to a plate lined with a paper towel to soak up any excess oils. Repeat for the remaining bread slices.
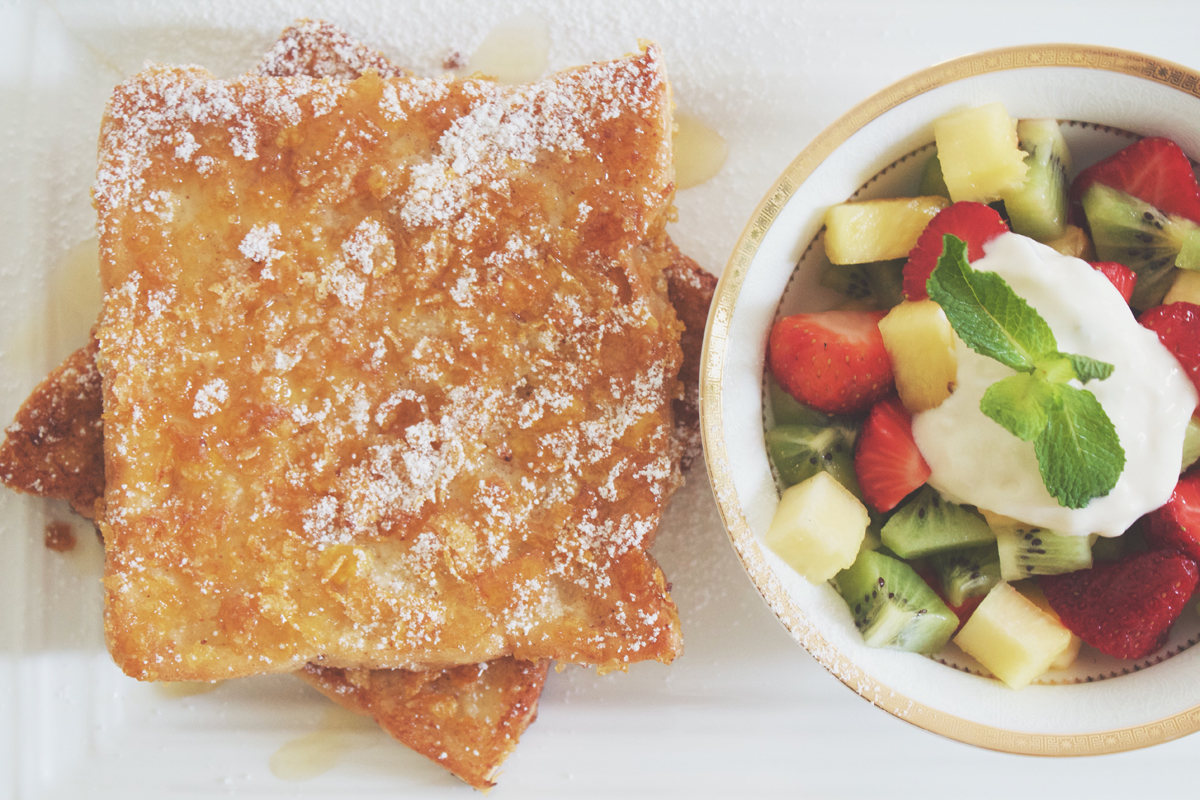
- Top with your favourite toppings, and/or serve with your choice of fruits for a fresh salad on the side. Enjoy!

BON APPÉTIT
– Ally xx