Hello Everyone! This pizza was actually the last pizza I made before flying off, so it was basically a pizza with anything I had left in the fridge to top it off with (except for the smoked salmon though, I bought that especially for this pizza). I have a few others up my sleeve but I haven’t had the chance to try them out. Maybe I’ll do another pizza series later on in the year when I get around to making them again.
If you read my very first post on the pizza series, you would’ve read somewhere that I was inspired to make my own pizzas from a DIY pizza night that my friend Tara held for her birthday last year. I made sort of the similar thing as tonights post. What I had planned was to do another stuffed crust pizza recipe, but I realised, once I had lined the walls of the pizza and sealed it, the dough that I rolled out was too thin in the middle. So what I ended up doing was folding the dough back in and instead of it being a stuffed crust pizza base, I incorporated the mozzarella cheese into the dough.

PREP TIME 10 MINS | COOKING TIME 10-15 MINS | SERVES 3-4
INGREDIENTS
- Classic New York Style Pizza Dough Recipe
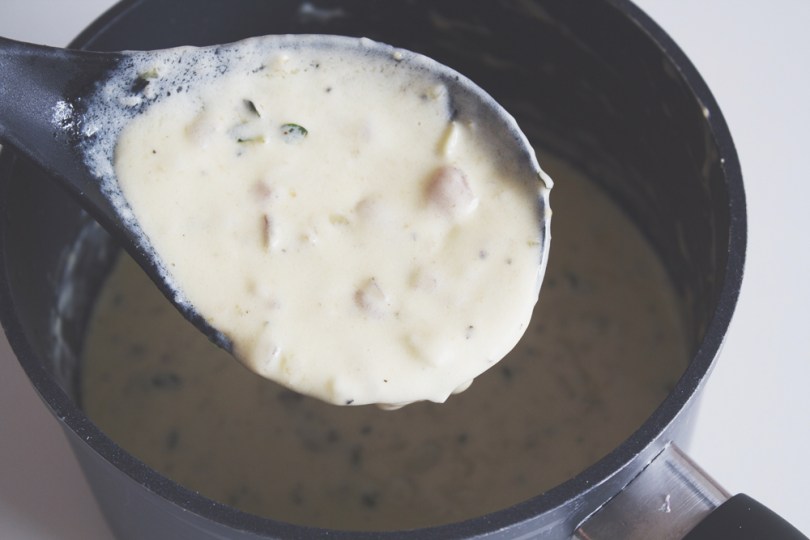
- White Pizza Sauce Recipe
- 1 small red onion, halved then sliced
- 125g marinated mediterranean bocconcini
- 100g smoked salmon
- 2 tsp baby capers
- 1 tsp dried chilli flakes (or fresh chillies if available)
- Handful of rocket leaves
- Mozzarella cheese
METHOD
- Preheat oven to 220C. Place your pizza stone in the oven as well to heat it up.
- Roll out your dough to a circle the same size as your pizza stone on a lightly floured surface as thick or thin as you want.
- Top with a handful of mozzarella cheese and fold the dough in again to incorporate the cheese into the dough. Or, if you prefer a stuffed crust, brush around the edge with a little water, then create a wall of the mozzarella cheese all the way around. Fold the edge over the mozzarella wall and seal it in by pressing down on the damp dough to form a stuffed crust.
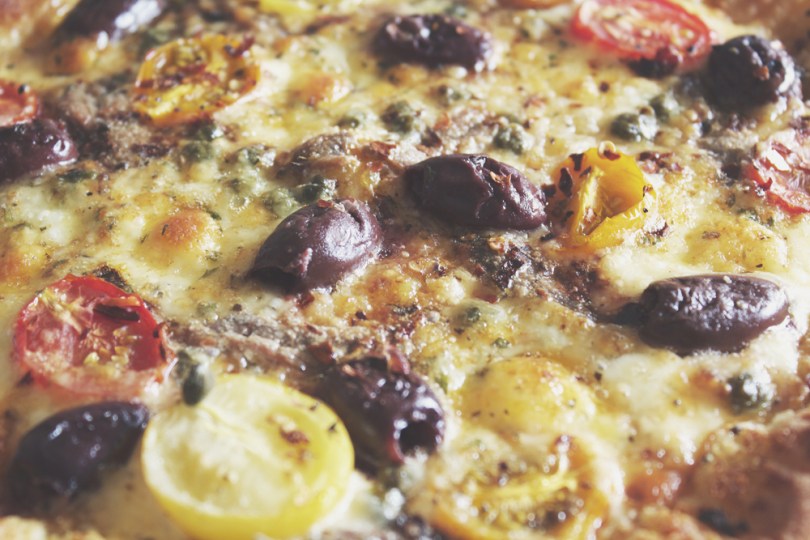
- Spread a thin layer of sauce onto the dough. Be very careful not to overdo the sauce; if you use too much sauce, it’ll be too rich and also will bubble over the pizza and burn. A quarter cup to a third is just about right per pizza.
- Top the pizza with the bocconcini, capers, and red onion. If these aren’t quite to your fancy, then get creative and top your pizza with your favourite toppings.
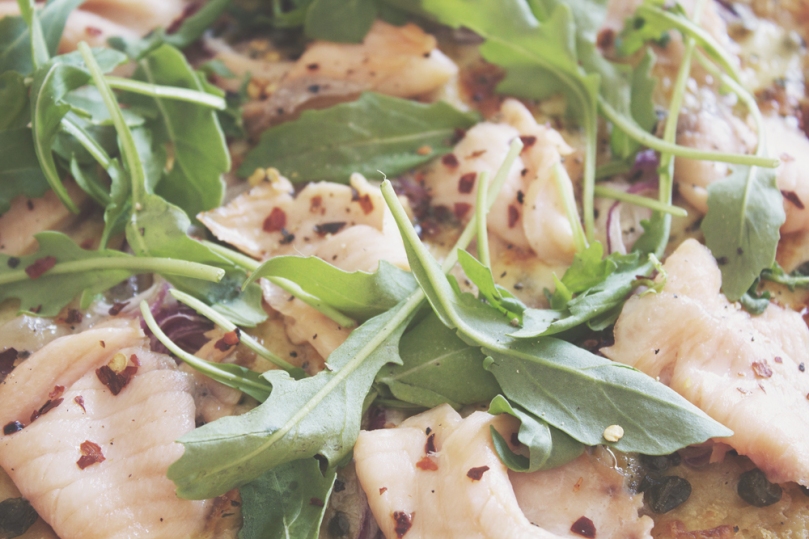
- Carefully remove the stone from the oven and quickly slide the pizza over the top of the stone. Place it back in the oven and bake for about 5-7 minutes. Remove from the oven and top the pizza with the smoked salmon. Then put it back in the oven for a further 2-3 minutes or until cooked all the way through. It should not take more than 15 minutes in total.
- Remove from the oven and top with fresh rocket leaves and chilli flakes before serving.

BON APPÉTIT
– Ally xx