Hello Everyone! It’s been a whole week since I last uploaded, sorry for that! I haven’t been cooking anything new the past week – just things I’ve already covered in this blog, or quick, easy meals because I didn’t feel like cooking. I’ve also been eating out a bit, catching up with both old and new friends over the holidays, and also saying farewell to my other Dutch housemate Sam. It’s getting lonely in the kitchen now without you! No one to creep up on me (be it in the kitchen or bathroom) and unintentionally spook me, no one to fight with over for our favourite shower room, no one talk to while cooking, and no one to eat with. No one to share my desserts with! And most importantly, no one will ever understand me when I say, “you’ve never heard of Medina?!” Please come back! Please don’t leave!
Anyway, today I got back into my cooking and decided to pull out a recipe from a cookbook that I bought months ago. A little story first about this cookbook. It was a public holiday I think (it was that long ago that I cannot remember), that I decided to go to a place called Basement Books at Railway Square – well, it was more that I recommended my friends to go there after a trip to Dymocks. I told them that books were generally much cheaper there. So while they were looking at novels, I was of course looking through the cookbook section. I found this cookbook, ‘1000 Italian Recipes’ split into three categories, starters and sides, mains, and dessert. Publisher’s price was at $16.99, and Basement price was at $9.99. I thought, what a bargain! Then I saw the exact cookbook behind it on the shelf and it said $12.99. Confused, I asked the sales lady what the actual price was, and she told me she would check at the counter. “It’s actually $6.99!” she said, and once again I thought, what a greater bargain! 1000 recipes for only $6.99!
So, why is it that I’ve only come around to try out a recipe from this book? Well, I don’t exactly know why. I’ve gone through the book numerous times and even bookmarked my favourites. I guess the main reason why I haven’t cooked from it yet was that I was probably not feeling very inspired, even though the recipes were fairly simple. I used to cook pasta at least once a week since I started cooking. No-cream Bacon Carbonara was my go-to dish whenever I wanted something quick and simple, but even so, I’ve not made that dish for a while because it made me feel sick and nauseous after a while – and I’m not quite sure if it’s the raw egg in it or the heap load of cheese. Anyway, I should get onto the recipe and stop blabbering about!
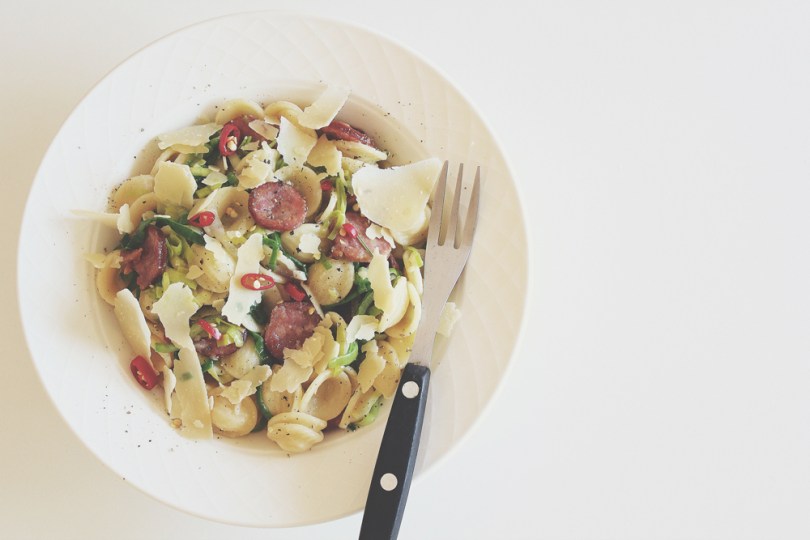
First off, casareccia is basically pappardelle pasta, rolled vertically and twisted into half, and works well with chunky sauces. The original recipe is meat-free and doesn’t call for the addition of chilli flakes. But you can get creative and bulk it up with bacon, ham, salami, etc. I kept it vegetarian, until I realised I had a pack of Hungarian salami in the fridge. Next time!

PREP TIME 10 MINS | COOKING TIME 1 HOUR | SERVES 4
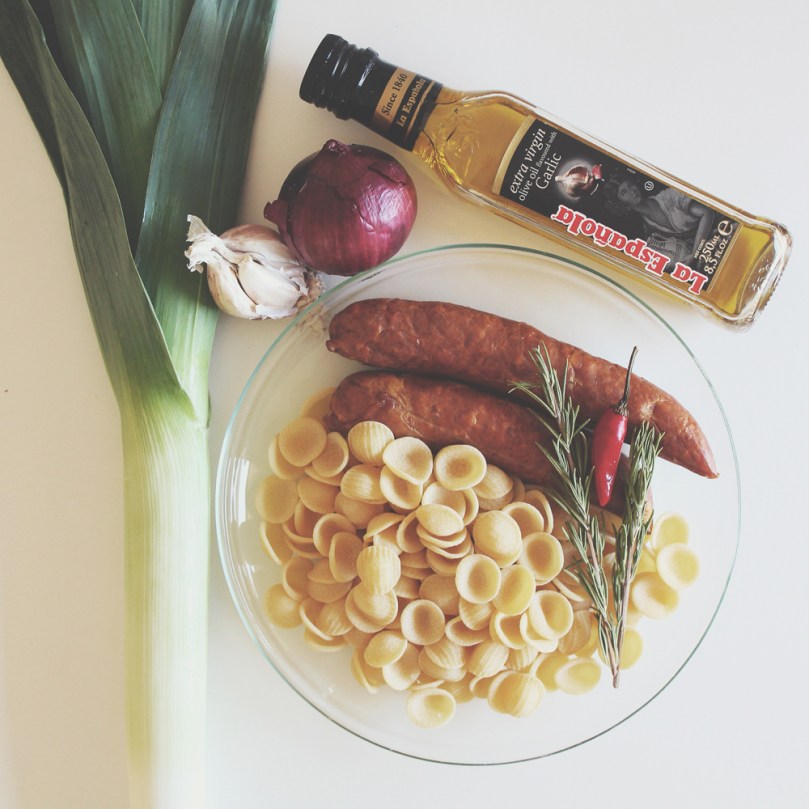
INGREDIENTS
- 2 cups casareccia pasta (or other shaped pasta)
- 1 punnet (200g) cherry tomatoes, halved
- 75g black olives, pitted and chopped
- 3 tbsp baby capers, drained
- 2 tbsp garlic-infused extra virgin olive oil
- 1 tbsp fresh basil leaves
- Dash of dried chilli flakes
- Shaved parmesan cheese
METHOD
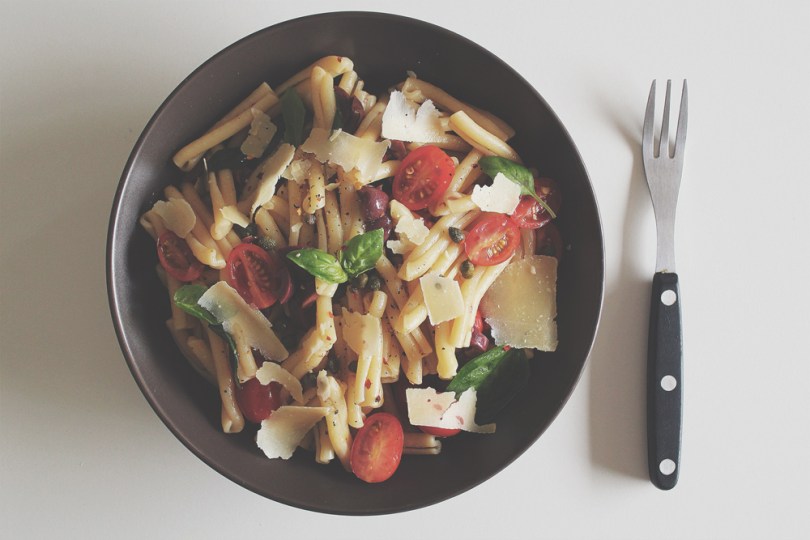
- In a small pan, heat up the olive oil. Once heated through, add to a large stainless steel bowl together with the tomatoes, olives, and capers, and chilli flakes. Toss and then set aside to macerate (to soften or become softened by soaking in a liquid). I like to leave it to macerate for at least 5 hours for the flavours to further soak into the olive oil, but 1 hour should do the trick.
- Cook the pasta in boiling, salted water according to the packet instructions. Drain and add to the macerated vegetables, with the basil leaves. Toss to combine and add more oil and seasoning if necessary.
- Garnish with basil leaves and shaved parmesan cheese. Serve warm.

BON APPÉTIT
– Ally xx