Hello Everyone! The month is going by swiftly and we’re almost halfway through the fourth month of 2021! Before we dive right into the recipe, I just want to say that I have a special announcement which I have saved for the end of this post. Feel free to skip ahead if you want to know more about what’s happening on Amcarmen’s Kitchen this week!
Adobo is a very popular dish in the Philippines which involves marinating meat, seafood, or vegetables in a mixture of vinegar, soy sauce, garlic, bay leaves, and black peppercorns, and then cooked in its own marinade. The most common choice of protein is chicken or pork, squid for seafood, and kang kong (water spinach) or yardlong beans for vegetables. I’m sure there are other choices of seafood and vegetables, but these are the ones that I am most familiar with.

To be very honest, before I even found out about the ‘marinating’ process involved in making adobo, I used to always just throw everything into a pot and let it simmer away for 20 minutes – well at least that’s how my Mom taught me how to make adobo; no marinating and no sautéing needed. Even without the marinating process, the way my Mom taught me how to cook adobo tastes just as good! I’ve tried a recipe where I marinated the protein before, and to be honest, I can’t spot the difference.
This is one of the main reasons why, when I used to live alone while I was studying for my degree in Australia, this would be my go-to weeknight dinner meal – quick and hassle free. The other best part of it is that the longer you keep it in the fridge, the more the flavours start to develop, and it doesn’t go off that easily! In fact, cooking with vinegar and salt helps keep food fresh for longer especially in the tropical climates of the Philippines.

Since water spinach and yardlong beans are very common vegetables used when making a vegetarian/vegan adobo dish, I chose to work with my favourite ‘vegetable’ – mushrooms! I used vegetables in quotation marks because, although mushrooms are classified as vegetables, they are technically not plants, but are part of the kingdom called fungi. Stick around because I’m not just going to show you how to make Spicy Mushroom Adobo, I’m going to make it into a full meal for you guys!
If you want to check out my other adobo recipes on my blog, feel free to check them out! Disclaimer: these are all meat dishes from when I used to eat meat.
- Classic Chicken Adobo
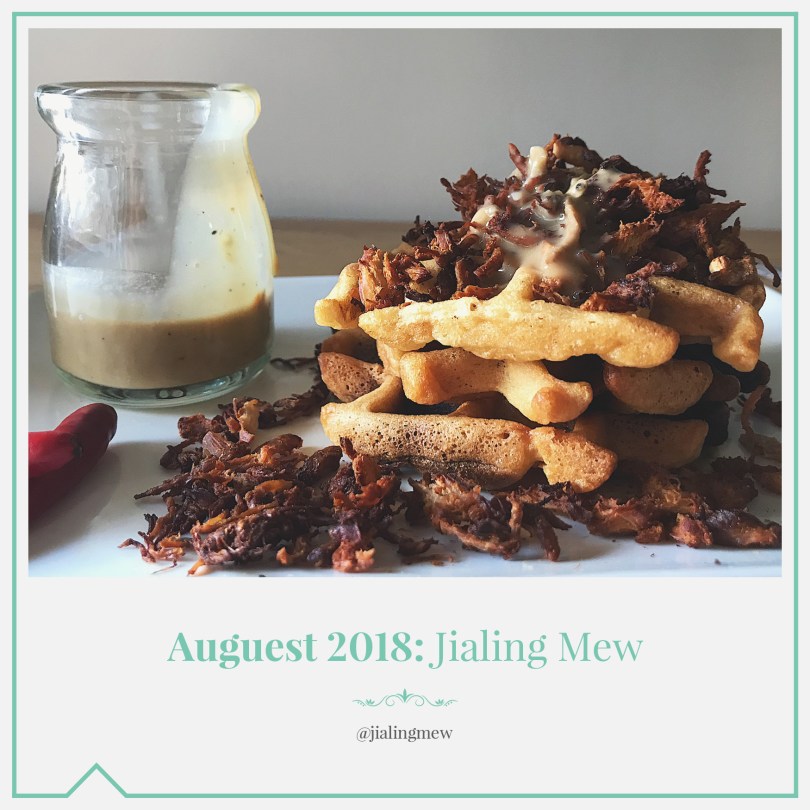
- Waffles with Oven-fried Adobo Flakes (Courtesy of Jialing Mew for Auguest 2018)
- Spicy Chipotle Adobo Ribs sa Gata
PREP TIME 10 MINS | COOKING TIME 15-20 MINS | SERVES 3-4
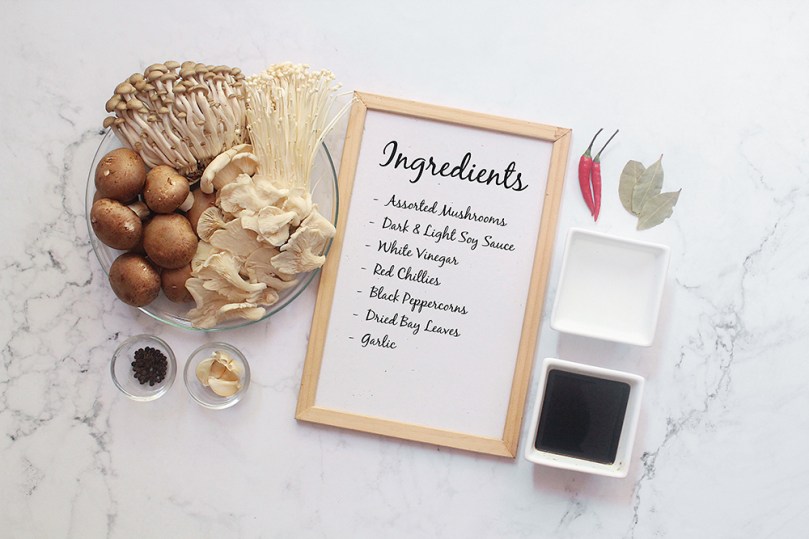
INGREDIENTS
- 500g assorted mushrooms*
- 3-4 garlic cloves, finely minced
- 2-3 pcs dried bay leaves
- 2 red bird’s eye chillies, sliced
- 1/2 cup white vinegar
- 1/4 cup light soy sauce
- 2 tbsp dark soy sauce
- 2 tbsp cooking oil
- 1 tbsp whole black peppercorns
- Crispy garlic, to garnish
- Fresh red chillies, to garnish
*I used an array of swiss brown, shimeji, enoki, and oyster mushrooms. Feel free to use whatever is readily available and most importantly, fresh.
METHOD
- Add oil to a large pan over medium-high heat. Once hot, add the minced garlic and red chillies to the pan and sauté until the garlic is lightly golden and fragrant, about 30 seconds. Follow with the whole black peppercorns and dried bay leaves and continue to sauté to release their flavours.
- Turn the heat down to medium and add the mushrooms to the pan. Mix well and cook until the mushrooms have started to wilt and brown.
- Add the light and dark soy sauce, together with the white vinegar to the mushrooms. Do not mix. Turn the heat down to medium-low and cover. Allow the mushrooms to simmer for about 10-15 minutes.
- Give the mushrooms a good mix and adjust the taste to your liking, i.e. add more soy sauce if you want it a little saltier or more chillies for heat. Continue to cook until most of the liquid has evaporated.
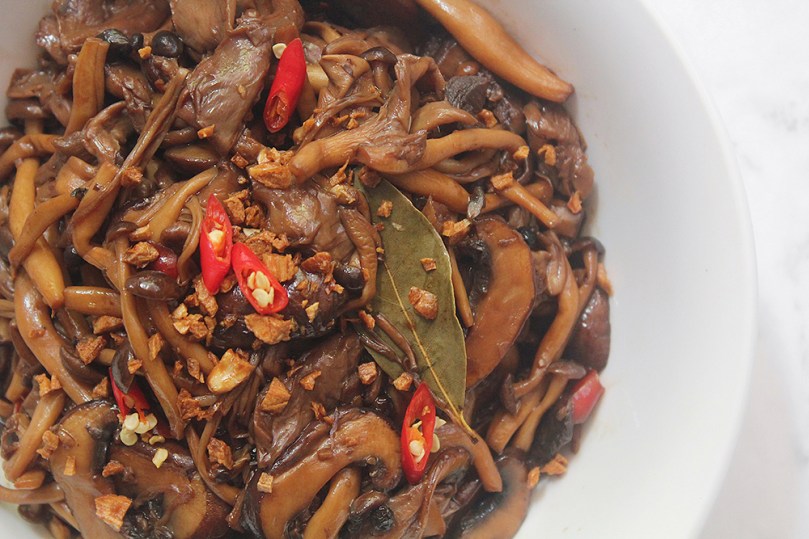
- Once done, remove from the pan and transfer to a serving bowl. Garnish with crispy garlic and extra red chillies. Serve and enjoy with freshly steamed rice!
Now you can stop here, or you can take this dish further by making Mushroom Adobo Fried Rice and serve it with a simple mango salsa and top it off with a sunny side up egg, which is definitely what I did! To make the mushroom fried rice, make sure you have cold, day old rice on hand.
- In the same pot that you used to cook your mushroom adobo, add about another 2 tbsp of oil over medium high heat. Sauté about 3 cloves of finely minced garlic until golden brown and fragrant. Add your cold, day old rice to the pan, mix, and cook.
- Once the rice is heated through, season with a touch of salt and freshly ground black pepper. Add the mushroom adobo sauce to the rice and mix well.
- Transfer the rice to individual serving plates and top with a sunny side up egg, and to freshen the dish up a bit, with some fresh mango salsa (or salsa of choice). Serve and enjoy!

Before I end tonight’s post, I just want to say that I will be posting another recipe this week on Friday evening and on Saturday morning or evening (depending when I can get the post done). Stay tuned for a very special occasion for Amcarmen’s Kitchen!
BON APPÉTIT
– Ally xx